This One DIY Mask Is My Secret to Smooth, Glowing Skin!
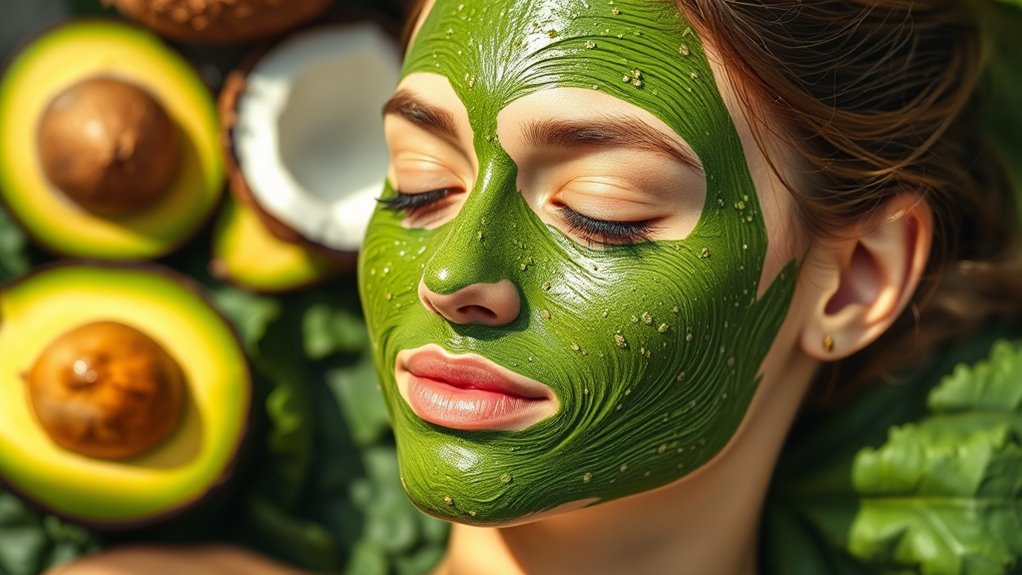
Unlock your secret to smooth, glowing skin with this simple DIY mask! Combine honey, avocado, and oatmeal for hydration and nourishment, creating a spa-like experience at home. The mask not only calms irritation but also brightens your complexion. Apply it after cleansing for the best absorption and let it work its magic! Consistent use can transform your skin, boosting your confidence and radiance. Want to discover more tips and customize this mask just for you?
Key Takeaways
- A simple DIY mask with honey and avocado hydrates and nourishes for smooth, glowing skin.
- Combine oatmeal and yogurt to soothe irritation and brighten your complexion effectively.
- Customize your mask with essential oils for added calming and purifying benefits.
- Apply the mask once or twice a week for optimal skin rejuvenation and results.
- Consistent use can transform dull skin, leading to increased confidence and radiance.
The Benefits of a DIY Face Mask
When you whip up a DIY face mask, you’re not just treating your skin; you’re also indulging in a spa-like experience right at home.
A DIY smoothing face mask can transform your skincare routine into a delightful ritual. You get to choose the ingredients, tailoring them to your unique skin needs, which means you’re in control of what goes on your face.
Plus, creating your own mask can be cost-effective compared to salon treatments. This hands-on approach allows you to experiment with various textures and scents, making it a fun activity.
As you apply the mask, you’ll feel the stress melt away, leaving your skin refreshed and rejuvenated while boosting your confidence with that radiant glow. Additionally, incorporating natural ingredients into your mask can help revitalize your skin and enhance its overall health.
Key Ingredients for Smooth, Glowing Skin
Creating your own DIY face mask opens up a world of possibilities when it comes to choosing ingredients that promote smooth, glowing skin.
Honey is a natural humectant, drawing moisture into your skin while offering antibacterial properties.
Avocado, rich in healthy fats and vitamins, nourishes and hydrates, leaving your complexion radiant.
Oatmeal soothes irritation and exfoliates gently, perfect for achieving a polished look.
Yogurt, packed with lactic acid, helps to brighten and even out skin tone.
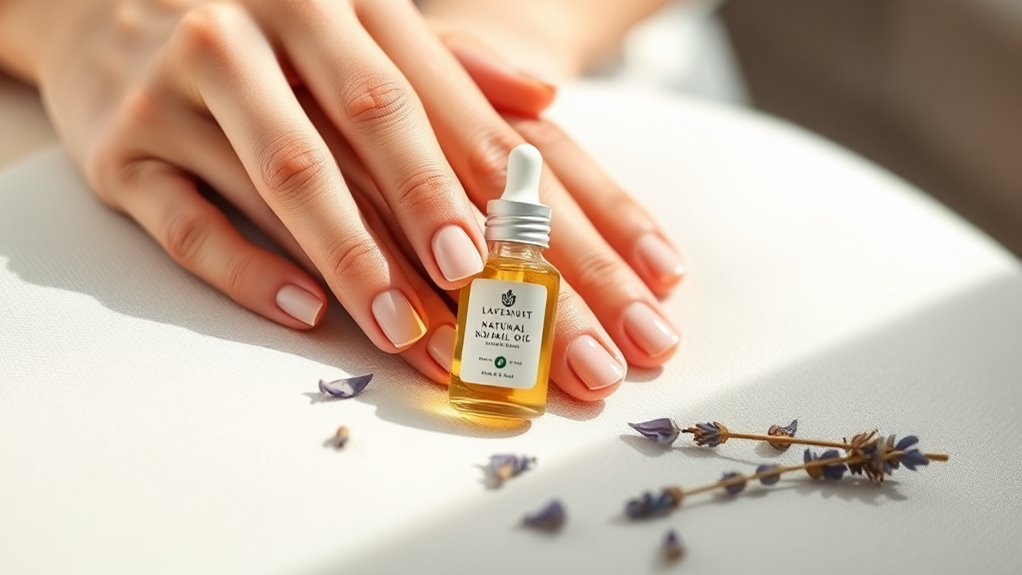
Lastly, consider adding a few drops of essential oils like lavender or tea tree for their calming and purifying effects. Incorporating natural skincare tips in your routine can significantly enhance your skin’s health and appearance.
Step-by-Step Guide to Making the Mask
Now that you know the key ingredients for your DIY mask, it’s time to get hands-on! You’ll want to gather everything you’ll need before mixing, so you can create the perfect blend for your skin. Plus, I’ll share some application tips and tricks to ensure you get the most out of your glowing experience. Using natural ingredients in your mask can significantly enhance your skin’s texture and give you that radiant glow.
Gather Your Ingredients
Before you dive into your DIY mask journey, it’s essential to gather the right ingredients that will transform your skin.
Each component plays a vital role in delivering that radiant glow you crave. Here’s what you’ll need:
-
Honey – Nature’s moisturizer, it hydrates and nourishes your skin.
-
Yogurt – Packed with lactic acid, it gently exfoliates, revealing fresh skin beneath.
-
Oatmeal – A soothing agent, it calms irritation while providing gentle exfoliation.
-
Lemon Juice – Brightening and refreshing, it helps even out skin tone.
With these ingredients at hand, you’re one step closer to achieving that smooth, glowing complexion you’ve always desired.
Gather them with care; your skin’s transformation is about to begin!
Mixing Techniques Explained
With your ingredients ready, it’s time to bring them together in a way that maximizes their benefits for your skin. Start by measuring out each ingredient carefully, ensuring you have the right proportions for optimal results.
In a clean mixing bowl, combine your base—usually yogurt or honey—with any powders like turmeric or clay. Use a whisk or fork to blend everything smoothly; this prevents clumping and ensures an even texture.
Next, gradually add in your liquid ingredients, like aloe vera or essential oils, mixing continuously. Keep stirring until you achieve a creamy consistency that’s easy to apply.
Finally, let the mixture sit for a few minutes to allow the ingredients to meld, enhancing their efficacy before you apply it to your skin.
Application Tips and Tricks
Once you’ve prepared your mask, applying it correctly can make all the difference in achieving that smooth, glowing skin you desire. Here’s how to ensure you’re getting the most out of your DIY mask:
-
Cleanse Your Face: Start with a gentle cleanser to remove any dirt or makeup, allowing the mask to penetrate deeply.
-
Use a Brush or Fingers: Apply the mask evenly using a clean brush or your fingertips, focusing on areas that need extra love.
-
Relax: Find a quiet spot, and let the mask sit for the recommended time. This is your moment to unwind!
-
Rinse with Lukewarm Water: After the timer goes off, rinse thoroughly with lukewarm water, revealing that fresh, radiant skin underneath.
Enjoy the glow!
How to Apply the Mask for Best Results
To achieve the best results from your DIY mask, start by ensuring your skin is clean and free of impurities, as this sets the perfect foundation for absorption.
Gently massage the mask onto your face using your fingertips, focusing on areas that need extra attention like your cheeks and forehead. Apply an even layer, avoiding your eyes and mouth.
Let the mask sit for the recommended time—usually around 10 to 20 minutes—so your skin can fully absorb the nutrients. While waiting, relax and enjoy the moment. Incorporating natural ingredients into your mask can enhance hydration and restore radiance.
Once time’s up, rinse the mask off with lukewarm water, gently pat your face dry with a soft towel, and follow up with your favorite moisturizer to lock in that glow.
Tips for Customizing the Mask to Your Skin Type
Customizing your DIY mask is the key to achieving that perfect glow tailored just for you.
If you have oily skin, consider adding ingredients that help absorb excess oil, while those with dry skin might benefit from hydrating additives.
For sensitive skin, it’s essential to choose gentle components that soothe without irritation, ensuring your mask works harmoniously with your unique complexion.
Oily Skin Adjustments
If you struggle with oily skin, you know how challenging it can be to find the right balance in your skincare routine.
Luckily, customizing your DIY mask can help you manage excess oil while keeping your skin glowing. Here are some adjustments to consider:
-
Add Clay: Incorporate bentonite or kaolin clay to absorb excess oil and purify your pores.
-
Use Lemon Juice: A few drops can help brighten your skin while controlling shine.
-
Incorporate Honey: Its antibacterial properties can help prevent breakouts without over-drying your skin.
-
Essential Oils: A drop of tea tree or lavender can provide soothing benefits while combating oiliness.
These tweaks will help you achieve that coveted smooth and radiant complexion!
Dry Skin Additions
While it might seem counterintuitive, pampering dry skin requires a thoughtful approach to hydration and nourishment.
Start by adding honey to your DIY mask; its humectant properties draw moisture in, leaving your skin supple. Consider incorporating aloe vera for its soothing and healing benefits.
For an extra boost, blend in avocado, which is rich in healthy fats and vitamins that revive parched skin. Don’t forget about oils! A few drops of jojoba or almond oil can elevate your mask’s moisturizing power.
Finally, oatmeal can help soothe irritation while providing gentle exfoliation. Customize your mask with these additions, and you’ll transform your skincare routine, ensuring your skin feels deeply nourished and radiates that enviable glow!
Sensitive Skin Considerations
When it comes to crafting a mask for sensitive skin, choosing gentle and calming ingredients is key.
You want to soothe and protect your skin while achieving that coveted glow. Here are four tips to customize your mask:
-
Honey: Known for its antibacterial properties, honey can help hydrate and calm irritation.
-
Aloe Vera: This natural gel is a miracle worker, soothing redness and providing moisture.
-
Oatmeal: Ground oatmeal can act as a gentle exfoliant, reducing inflammation and buffering the skin.
-
Chamomile: Infusing your mask with chamomile tea can enhance its calming effects, perfect for sensitive skin.
Frequency: How Often to Use the Mask
To achieve the best results from your DIY mask, it’s essential to establish a consistent routine that suits your skin type.
If your skin is oily or acne-prone, using the mask two to three times a week can help regulate oil production and unclog pores.
For normal to combination skin, once or twice a week is typically sufficient to maintain that radiant glow without overdoing it.
If you have dry or sensitive skin, consider using the mask just once a week, ensuring your skin has time to recover and absorb moisture.
Always listen to your skin; if you notice irritation or dryness, adjust the frequency accordingly.
Your skin deserves this gentle yet effective routine to shine!
Additional Skincare Tips for Radiant Skin
Achieving radiant skin goes beyond just using a mask; it requires a holistic approach to your skincare routine. Here are some essential tips to elevate your glow:
-
Hydrate: Drink plenty of water to keep your skin plump and nourished. Dehydration shows up as dullness.
-
Moisturize: Invest in a quality moisturizer that suits your skin type; it keeps your skin barrier intact and smooth.
-
Sunscreen: Never skip this step! Protecting your skin from harmful UV rays prevents premature aging and maintains your glow.
-
Gentle Exfoliation: Exfoliate 1-2 times a week to remove dead skin cells, revealing the fresh, radiant skin underneath.
Incorporating these practices will enhance your DIY mask’s effects and leave your complexion looking vibrant and healthy!
Real-Life Results: Before and After Transformations
While the effectiveness of DIY masks can seem subjective, countless individuals have documented their transformative journeys with these skin treatments. You might be amazed at the visible differences they’ve experienced after consistent use.
Here’s a glimpse of some real-life results:
| Before Treatment | After Treatment |
|---|---|
| Dull, uneven skin tone | Bright, glowing complexion |
| Visible pores | Minimally visible pores |
| Dry patches | Hydrated, smooth skin |
These transformations highlight the potential of a simple DIY mask to revitalize your skin. Users rave about the boost in confidence that comes with their newfound radiance. If you’re looking for that smooth, glowing skin, incorporating this mask into your routine could be the game-changer you need!