The Simplest DIY Mask That Works Wonders Overnight
The simplest DIY mask that works wonders overnight combines honey, yogurt, and aloe vera. Honey hydrates, yogurt gently exfoliates, and aloe soothes your skin. Just mix equal parts of each, apply a thin layer before bed, and let it work its magic while you sleep. In the morning, rinse off for refreshed, radiant skin. Curious about how to maximize its benefits and create a personalized routine? There’s more to discover!
Key Takeaways
- Combine honey, yogurt, and almond oil for a nourishing overnight mask that hydrates and revitalizes the skin.
- Apply a thin layer to clean, steamed skin, avoiding the eyes and lips for best results.
- Leave the mask on for six to eight hours to allow deep absorption of beneficial ingredients.
- Adjust duration based on skin type; dry skin can benefit from longer use while sensitive skin should start shorter.
- Rinse with lukewarm water and follow with a lightweight moisturizer for optimal hydration and glow.
Understanding the Benefits of Overnight Masks
When you wake up to refreshed and radiant skin, it’s easy to appreciate the magic of overnight masks.
An overnight face mask works wonders while you sleep, allowing your skin to absorb nourishing ingredients deeply. These masks are designed to create a protective barrier, locking in moisture and enhancing the skin’s natural repair processes.
You’ll find that they target specific concerns, whether it’s dryness, dullness, or fine lines, leaving your complexion looking revitalized come morning. Additionally, using natural ingredients in your overnight mask can further enhance its effectiveness, ensuring your skin receives the best care possible.
The best part? They’re simple and convenient, fitting seamlessly into your nighttime routine. Just apply before bed and let the mask do its job while you dream.
Embracing the benefits of overnight masks can transform your skincare game, giving you that glow you’ve always wanted.
Essential Ingredients for Your DIY Mask
Creating your own overnight mask can be a rewarding way to personalize your skincare routine. To get started, consider essential ingredients that can nourish and rejuvenate your skin while you sleep.
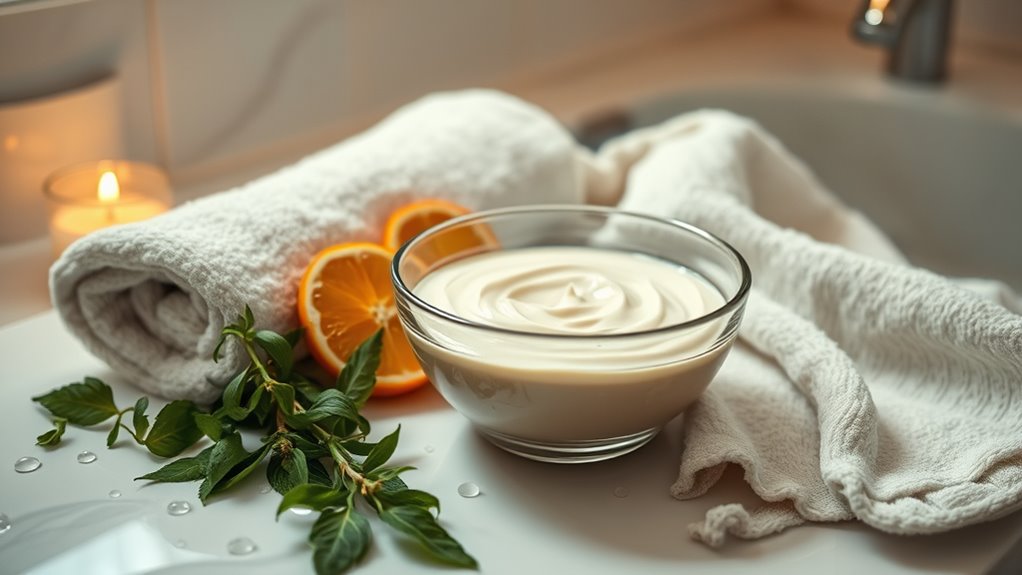
Honey is a fantastic natural humectant, drawing moisture in and leaving your skin plump. Combine it with yogurt, rich in lactic acid, to gently exfoliate and brighten your complexion.
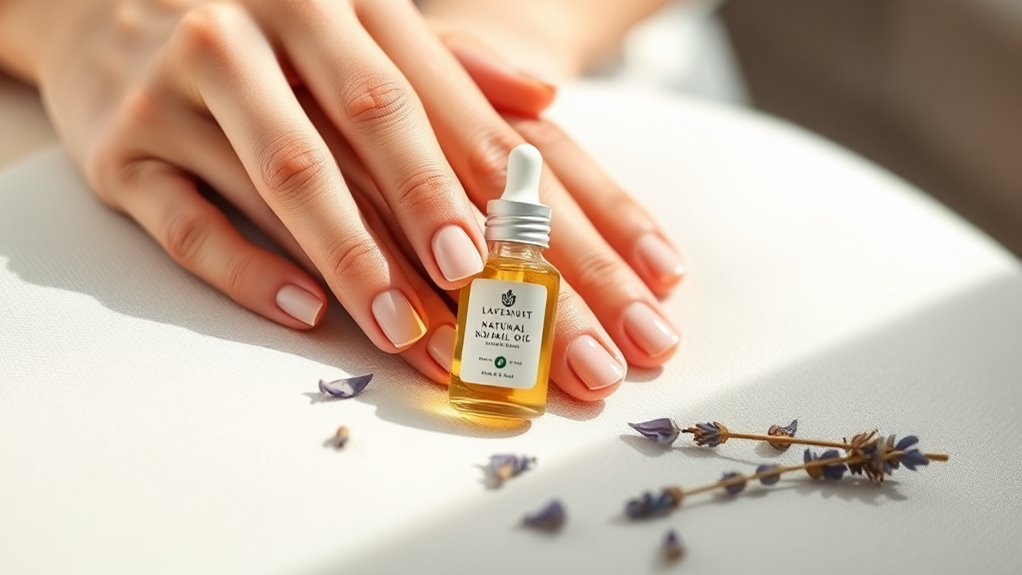
For hydration, add a few drops of almond oil, which is packed with vitamins E and A. If you’re targeting specific concerns, like acne or irritation, a touch of tea tree oil can work wonders.
Lastly, don’t forget the soothing properties of aloe vera, perfect for calming any inflammation. Additionally, incorporating natural ways to detox your skin into your routine can enhance the effectiveness of your overnight mask. With these ingredients, you’re on your way to a radiant overnight transformation!
Step-by-Step Guide to Creating the Mask
Now that you’ve gathered your essential ingredients, it’s time to create your mask!
You’ll learn the perfect mixing instructions to ensure a smooth consistency, followed by application tips for maximum effectiveness. To enhance your skin’s rejuvenation, consider using natural ingredients known for their hydrating properties.
Let’s get started on crafting your overnight skincare miracle!
Essential Ingredients Needed
To achieve glowing skin by morning, you’ll need a few essential ingredients that work together to nourish and hydrate your complexion overnight.
Start with honey, a natural humectant that locks in moisture while providing antibacterial properties. Next, grab some plain yogurt, rich in lactic acid, which gently exfoliates and brightens your skin.
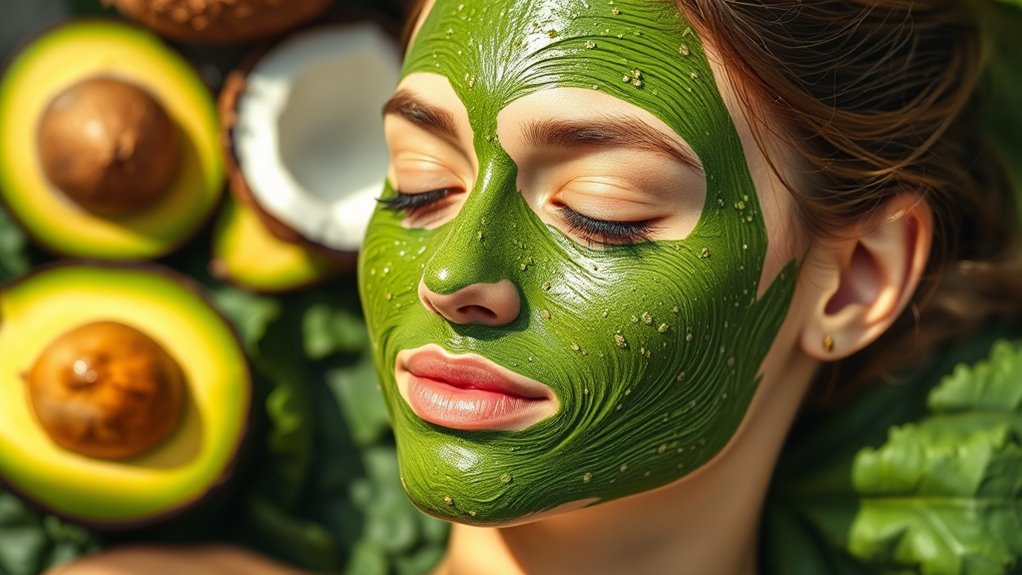
Avocado is another key ingredient, packed with healthy fats and vitamins that deeply hydrate and soothe. Lastly, include a few drops of essential oil, like lavender or tea tree, for their calming and healing effects.
These ingredients not only revitalize your skin but also create a luxurious experience as you pamper yourself. Gather these essentials, and you’re well on your way to crafting your transformative overnight mask.
Mixing Instructions
With your ingredients gathered, you’re ready to whip up your overnight mask. Start by measuring out the required amounts of each ingredient—don’t skip this step, as precision matters!
In a mixing bowl, combine your base ingredient, whether it’s yogurt, honey, or avocado. Stir gently until it’s smooth and creamy.
Next, add your chosen add-ins, like essential oils or vitamin E, and mix thoroughly to ensure even distribution. If your mask feels too thick, you can add a few drops of water or oil to achieve your desired consistency.
Once everything’s well-blended, transfer the mixture into a clean container. Seal it tightly, and your overnight mask is ready to work its magic while you sleep!
Application Tips
Before diving into your skincare routine, make sure your face is clean and free from any makeup or impurities, as this sets the stage for your overnight mask to truly shine.
Start by applying a thin layer of your mixed mask evenly across your face, avoiding your eyes and lips. Use gentle, upward strokes; this not only ensures even coverage but also promotes circulation.
If you have leftover mask, don’t hesitate to apply it to your neck for added benefits.
Once applied, let it sit for about 10 minutes to absorb.
Finally, grab a soft towel to remove any excess product, then relax and let the mask work its magic overnight. You’ll wake up to refreshed, glowing skin!
Tips for Applying the Mask Effectively
Before you apply your mask, make sure to cleanse your face thoroughly to remove any dirt or oils. When you do apply the mask, spread it evenly and generously for the best results. Don’t rush the process—allow it enough time to set and work its magic overnight. To enhance the effects of the mask, consider using ingredients that can revitalize your skin and provide a soothing self-care experience.
Cleanse Your Face First
To achieve the best results from your overnight mask, it’s essential to start with a clean canvas.
Begin by removing any makeup and impurities from your skin. Use a gentle cleanser that suits your skin type—this will help eliminate dirt and excess oil, allowing your mask to penetrate effectively.
Rinse with lukewarm water to open up your pores, making your skin more receptive to the mask’s nourishing ingredients.
Pat your face dry with a soft towel, avoiding any harsh rubbing that could irritate your skin.
This cleansing step not only prepares your skin but also ensures you’re maximizing the benefits of your DIY mask.
Trust me, a clean face sets the stage for incredible results by morning!
Apply Evenly and Generously
Apply your mask with care and attention to detail for the best results. Start by scooping out a generous amount and warming it between your fingertips; this helps it spread more easily.
Gently dot the mask across your forehead, cheeks, nose, and chin. Using upward strokes, blend it evenly over your skin, ensuring you cover every area without excessive tugging. Pay special attention to any dry patches or areas needing extra nourishment.
If you’ve got sensitive skin, use a light hand around your eyes. Remember, an even layer is key—too thick, and it won’t absorb properly; too thin, and it won’t work its magic.
Enjoy the soothing sensation and let your skin drink in the goodness!
Allow Time to Set
Once you’ve applied your mask evenly and generously, it’s important to give it the time it needs to work its magic. Rushing the process can prevent your skin from fully absorbing all those nourishing ingredients.
So, settle in and let the mask set for the recommended duration. Here are some tips to optimize your mask’s effectiveness:
- Find a quiet space: Create a calming environment to enhance relaxation.
- Use this time wisely: Read a book or catch up on your favorite show—distraction helps!
- Stay still: Avoid moving too much to prevent the mask from slipping.
- Limit distractions: Turn off your phone notifications to keep your focus on self-care.
How to Prepare Your Skin Before Application
Before diving into the application of your DIY mask, it’s essential to set the stage for your skin to reap the maximum benefits.
Start by cleansing your face with a gentle cleanser to remove dirt and impurities. This step unclogs pores and allows the mask to penetrate deeper.
Next, exfoliate lightly to slough off dead skin cells, promoting a smoother texture and enhanced absorption.
Don’t forget to pat your skin dry with a clean towel.
If you have time, consider steaming your face for a few minutes; this opens up pores and boosts hydration.
Lastly, apply a toner to balance your skin’s pH levels.
With these steps, your skin will be primed and ready to soak in all that nourishing goodness from your mask!
Recommended Duration for Overnight Use
When it comes to using your DIY mask overnight, timing is key.
You’ll want to consider your skin type and any safety precautions to ensure the best results.
Let’s explore the ideal duration for maximum effectiveness and comfort.
Ideal Overnight Timeframe
While you may be eager to see results, the ideal timeframe for leaving your DIY mask on overnight is typically between six to eight hours. This duration allows your skin to absorb the nutrients effectively, promoting a rejuvenated appearance by morning.
Consider these key points for optimal results:
-
Consistency: Regular use enhances the mask’s effectiveness.
-
Skin Relaxation: Longer exposure gives your skin time to unwind and repair.
-
Ingredient Activation: Ingredients work best when left on for an extended period.
-
Comfort: Ensure the mask feels comfortable overnight to avoid disruptions in your sleep.
Skin Type Considerations
Understanding your skin type is vital for determining how long to leave your mask on overnight. If you’ve got dry skin, you might benefit from leaving the mask on longer, as it can help hydrate and replenish moisture.
For oily or acne-prone skin, consider a shorter duration; overnight use can sometimes lead to excess oiliness or irritation.
Combination skin requires a balance—try a moderate time to see how your skin reacts.
Sensitive skin types should be cautious; start with a shorter duration to avoid redness or discomfort.
Always listen to your skin’s needs, as each type reacts differently. By tailoring the duration to your skin type, you can maximize the benefits of your DIY mask while ensuring a comfortable experience.
Safety Precautions Needed
Before you dive into your overnight mask routine, it’s essential to consider a few safety precautions to ensure your skin stays healthy and happy.
Remember, while overnight masks can be beneficial, they also require mindfulness to avoid irritation or adverse reactions. Here are some tips to keep in mind:
-
Patch Test: Always perform a patch test on a small skin area before applying the mask to your face.
-
Limit Ingredients: Use masks with fewer, well-known ingredients to minimize the risk of irritation.
-
Moisturize: Make sure to apply a lightweight moisturizer after the mask for added hydration.
-
Stay Hydrated: Drink plenty of water to keep your skin well-hydrated from within.
Taking these precautions will help you enjoy the benefits of your DIY mask safely!
Post-Mask Care for Glowing Skin
After unveiling your fresh, radiant complexion with an overnight mask, it’s essential to nurture your skin to maintain that glow.
Start by gently rinsing your face with lukewarm water, removing any residual mask. Follow up with a hydrating toner to balance your skin’s pH and prep it for further care.
Next, apply a lightweight moisturizer to lock in hydration, ensuring your skin feels plump and soft. Don’t forget to indulge in a nourishing serum infused with antioxidants to fight free radicals and enhance luminosity.
Lastly, protect your skin by applying a broad-spectrum sunscreen if you’ll be heading outdoors.
These steps won’t only preserve that overnight glow but also promote long-term skin health, keeping you radiant and confident every day.
Troubleshooting Common Issues
While trying out a DIY overnight mask can be exciting, it’s not uncommon to encounter a few bumps along the way.
If your mask doesn’t deliver the results you hoped for, don’t worry! Here are some common issues and how to troubleshoot them:
-
Mask too thick: If it feels heavy, try thinning it out with a bit of water or aloe vera.
-
Irritation: A reaction might occur if you’ve used a strong ingredient. Always patch test first.
-
Difficult to remove: If it sticks to your skin, consider using a lighter base next time.
-
Not moisturizing enough: If your skin feels dry, add more hydrating ingredients like honey or yogurt.
With these tips, you’ll navigate any hiccups like a pro!
Variations for Different Skin Types
Whether you have oily, dry, or combination skin, customizing your DIY overnight mask can make all the difference.
For oily skin, mix yogurt with a few drops of tea tree oil; this combination helps absorb excess oil while fighting breakouts.
If your skin’s on the drier side, try blending avocado with honey for a nourishing boost—this duo hydrates and soothes, leaving your skin soft and supple.
For combination skin, a mixture of aloe vera and cucumber juice works wonders, balancing moisture without feeling greasy.
Testimonials: Real Results From Real Users
Many users have experienced remarkable transformations after incorporating DIY overnight masks into their skincare routines. You’ll be amazed at the changes they’ve seen! From hydration to radiance, these masks can truly work wonders while you sleep.
Here’s what some users had to say:
- “My skin felt so plump and youthful by morning!”
- “I noticed a significant reduction in redness and irritation.”
- “The glow I achieved left me feeling confident without makeup.”
- “It’s become a staple in my weekly routine; I can’t get enough!”
These testimonials highlight the effectiveness of simple ingredients.
When you invest time in your skin, you’ll see the results, proving that sometimes the simplest solutions can yield the most impressive outcomes.