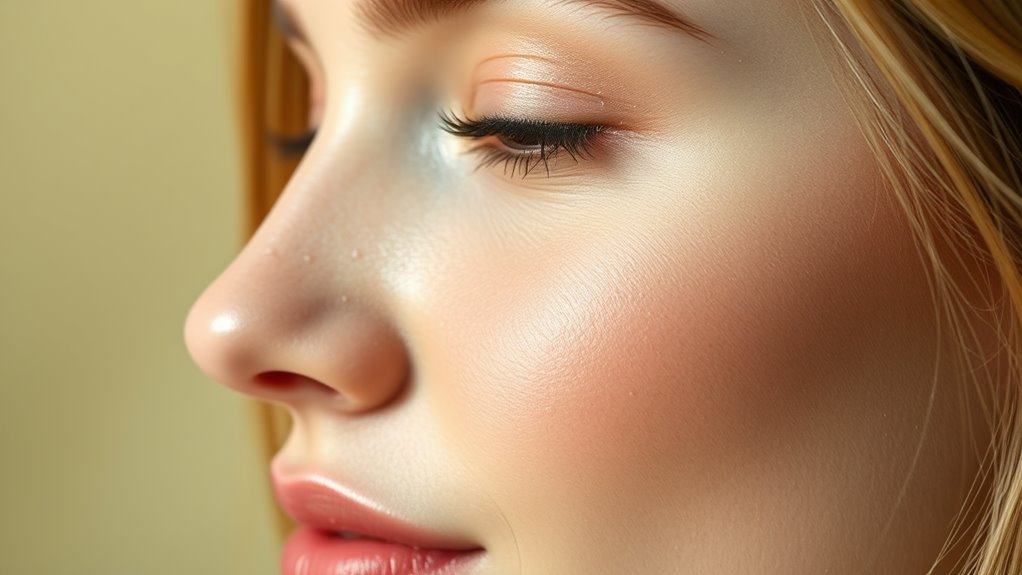
This DIY Face Mask Leaves Skin Silky in 10 Minutes!
Imagine treating your skin to a revitalizing boost in just 10 minutes. This DIY face mask combines the nourishing powers of honey, avocado, and yogurt, transforming dull skin into a silky canvas. It’s an easy addition to your routine, allowing you to embrace self-care without the fuss. But what are the precise steps to create this rejuvenating blend? Let’s explore the essential ingredients and tips you need for that perfect glow.
Benefits of a DIY Face Mask
Creating your own face mask isn’t just a fun DIY project; it offers a plethora of benefits for your skin.
A homemade face mask for glowing skin can brighten your complexion, hydrate parched areas, and rejuvenate tired skin.
You’ll enjoy the satisfaction of crafting a custom treatment that targets your unique needs, promoting healthier, more radiant skin in just minutes. Additionally, using natural ingredients in your mask can enhance the quality of your skin while ensuring you avoid harsh chemicals.
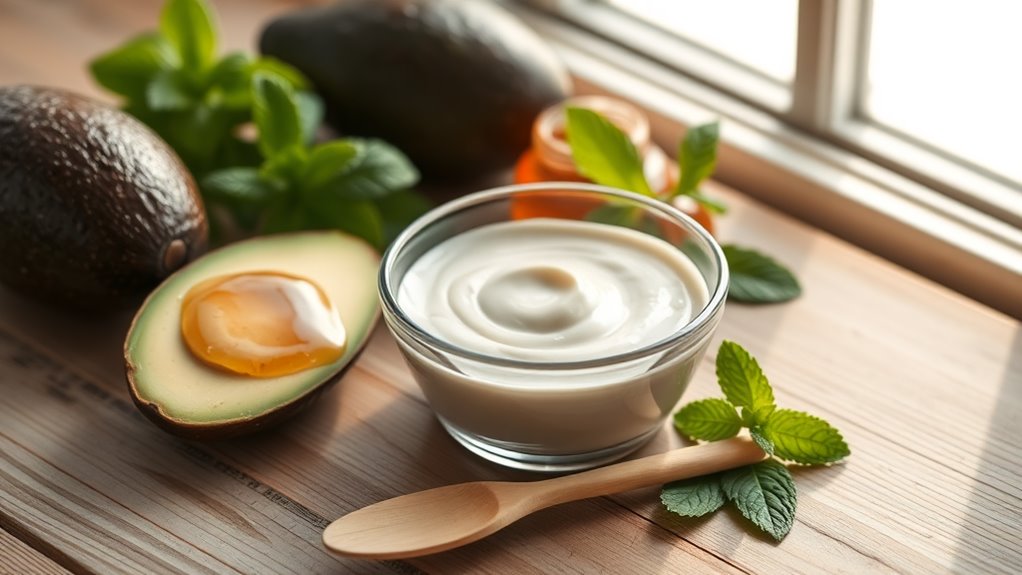
Essential Ingredients for Your Mask
When you’re ready to whip up your own face mask, knowing the essential ingredients can make all the difference for your skin’s health and appearance.
Look for nourishing elements like honey for hydration, oatmeal for gentle exfoliation, and yogurt for its lactic acid benefits. Incorporating avocado adds richness, while essential oils can provide soothing aromas and targeted skin benefits. Adding ingredients like DIY face masks can enhance your skin’s rejuvenation effects.
Get creative!
Step-by-Step Preparation
Making your own face mask is a straightforward and rewarding process that can be done in just a few simple steps.
Start by gathering your essential ingredients. Next, combine them in a mixing bowl until smooth. To achieve the best results, consider using natural ingredients known for their skin-enhancing properties.
Once you’ve achieved a creamy consistency, transfer your mask to a clean container.
And there you have it—your DIY face mask is ready for use!
Application Tips for Best Results
How do you ensure your DIY face mask delivers the best results?
Start with a clean face to eliminate impurities.
Apply the mask evenly, avoiding your eyes and mouth.
Use gentle, upward strokes to promote circulation.
Let it sit for the recommended time—about ten minutes—before rinsing with lukewarm water.
Finish with a splash of cold water to tighten pores and lock in hydration. Additionally, consider using natural ingredients like honey and avocado, which can provide hydration and restore radiance.
Aftercare and Skin Routine
While your DIY face mask works wonders on your skin, the aftercare is just as crucial for enhancing its effects.
To keep your skin glowing and hydrated, follow these steps:
-
Gently rinse your face with lukewarm water and pat dry.
-
Apply a nourishing moisturizer to seal in hydration.
-
Use sunscreen if you’re heading outside to protect your fresh skin.
Additionally, incorporating a natural face cleanser into your routine can help maintain your skin’s healthy appearance.
Enjoy your silky glow!