The One DIY Serum That Feels Like Luxury
Imagine transforming your skincare routine into a self-care ritual with just a few carefully chosen ingredients. This luxurious DIY serum combines nourishing oils and soothing extracts to cater specifically to your skin’s needs. By crafting this serum, you not only elevate your daily regimen but also gain the freedom to personalize it. Curious about how to create this indulgent experience for your skin? Let’s explore the essential components that make this serum truly special.
Essential Ingredients for Your Luxurious Serum
When crafting your luxurious DIY serum, five essential ingredients stand out as game-changers for your skin.
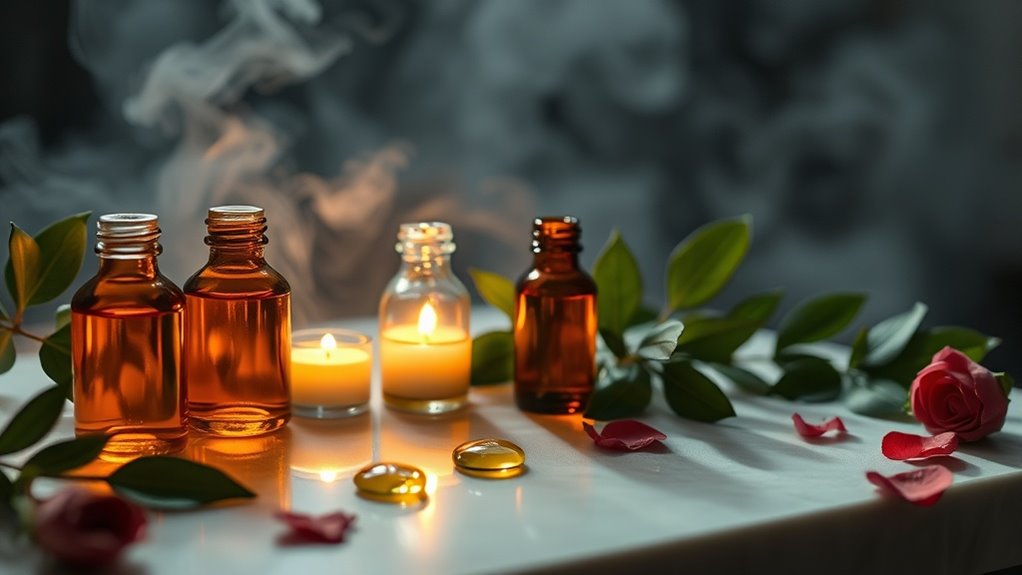
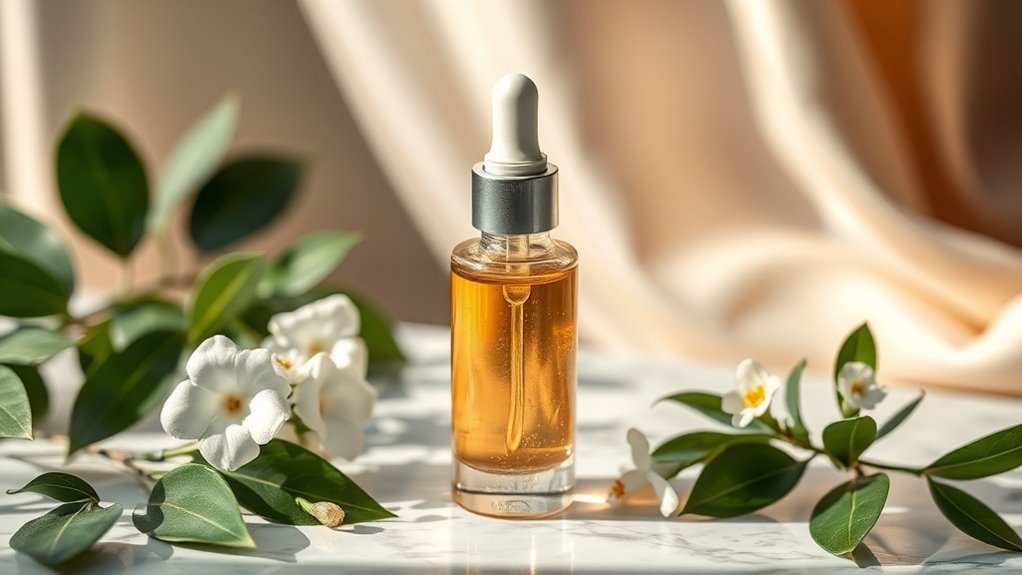
High-quality oils like jojoba and rosehip nourish deeply, while vitamin E acts as a powerful antioxidant.
Add aloe vera for hydration, and incorporate essential oils for a revitalizing scent.
These components not only enhance your homemade face serum but also elevate your self-care experience, leaving your skin radiant. Additionally, jojoba oil’s moisturizing properties help to balance oily and dry areas of your skin.
Step-by-Step Guide to Crafting Your Serum
Crafting your own luxurious serum is a rewarding experience that elevates your skincare routine. Follow these steps to create your bespoke blend:
-
Gather your essential ingredients
-
Measure each ingredient accurately
-
Mix using a glass dropper or whisk
-
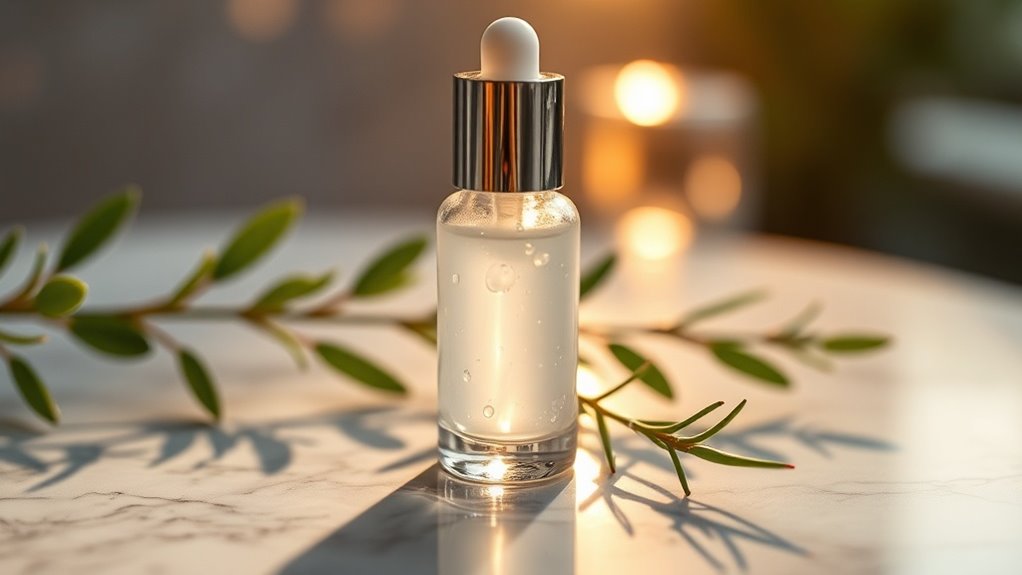
Transfer to a dark glass bottle
-
Store in a cool, dark place
Incorporating natural oils in your blend can help revitalize your skin and bring back its natural glow. Enjoy the lavish feel of your customized serum daily.
Tips for Customizing Your Serum
Creating your luxurious serum isn’t just about following a recipe; it’s about personalizing it to meet your unique skin care needs.
Start by choosing oils that suit your skin type—think jojoba for oily skin or rosehip for dryness. Additionally, incorporating a natural serum’s key ingredients can enhance its effectiveness and help you achieve that coveted glow.
Consider adding essential oils for targeted benefits and antioxidants for extra protection.
Application Techniques for Maximum Benefits
To truly unlock the potential of your DIY serum, mastering the application techniques is essential. Here’s how to ensure maximum benefits:
-
Warm the serum between your palms before applying.
-
Use gentle patting motions to enhance absorption.
-
Focus on target areas for concentrated effects.
-
Avoid using too much product; a little goes a long way.
-
Always apply on clean, dry skin for optimal results.
-
For added nourishment, consider using natural ingredients that promote hydration.
Storage and Shelf Life of Your Serum
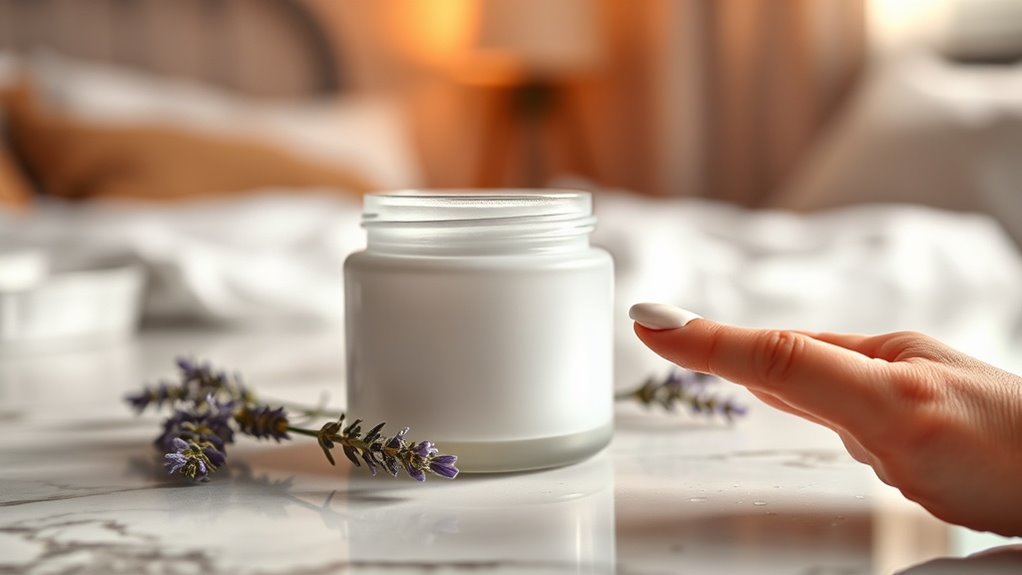
Maximizing the benefits of your DIY serum goes beyond application; proper storage plays a vital role in maintaining its potency and effectiveness.
Keep your serum in a cool, dark place, ideally in a glass container to protect it from light and air exposure.
Most serums last about three to six months, so label the container with the date for easy tracking.
Store wisely!
Enhancing Your Skincare Routine With the Serum
Integrating your DIY serum into your skincare routine can transform your daily regimen into a luxurious experience.
To maximize its benefits, consider these steps:
-
Apply after cleansing for better absorption.
-
Layer with a moisturizer for added hydration.
-
Use it both morning and night for consistency.
-
Pair with gentle massage techniques to stimulate circulation.
-
Store it in a cool, dark place for longevity.
The benefits of using a natural face oil include transformative benefits that can lead to healthier, glowing skin.