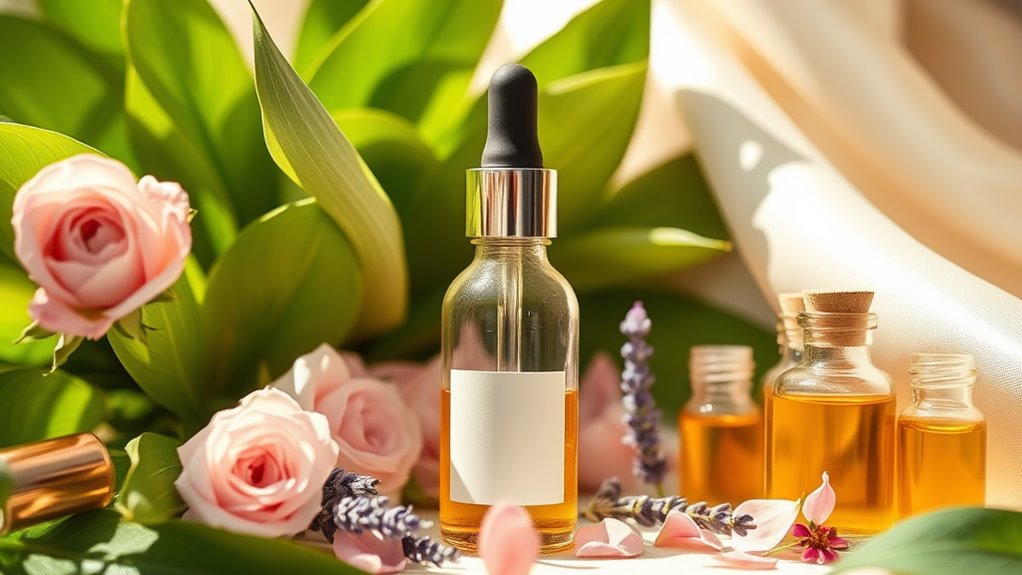
A DIY Serum That Feels Like Luxury on a Budget
Creating a DIY serum that feels luxurious doesn’t have to cost a fortune. By using high-quality, natural ingredients like hyaluronic acid, jojoba oil, and vitamin C, you can tailor a formula to meet your specific skin needs. It’s budget-friendly and offers deep hydration and anti-aging benefits. Plus, you’ll enjoy the satisfaction of making something just for you. Stick around to discover step-by-step recipes and tips for maximizing your serum experience!
Key Takeaways
- Create a personalized serum using high-quality, natural ingredients like jojoba oil and essential oils for a luxurious feel without the high price.
- Incorporate hydrating elements such as hyaluronic acid and aloe vera gel to enhance skin moisture and texture.
- Use Vitamin C and Retinol for brightening and anti-aging benefits, elevating your serum’s efficacy and luxury feel.
- Enhance your self-care routine by setting a calming ambiance with dim lighting, music, and warm towels for a spa-like experience.
- Store your serum in a cool, dark place to maintain its potency and ensure a luxurious, effective skincare experience.
The Benefits of a DIY Serum
When you consider the potential of a DIY serum, you might be surprised at how many benefits it can offer.
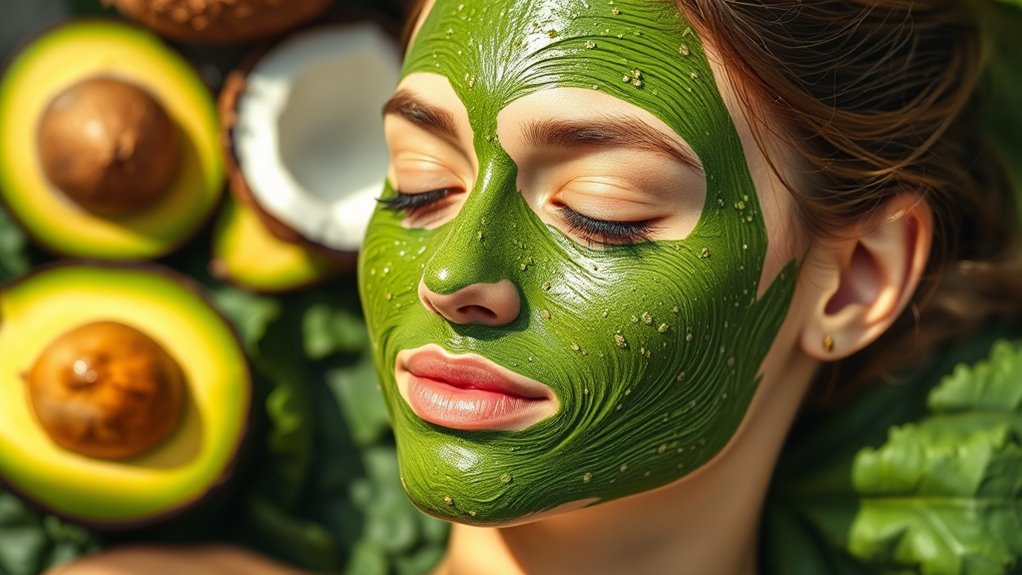
Creating your own homemade hydrating serum allows you to tailor the formula to your specific skin needs, ensuring it’s as effective as possible. You can choose high-quality, natural ingredients that suit your skin type, avoiding harsh chemicals often found in commercial products.
Plus, making your own serum is budget-friendly, saving you money while still delivering luxurious results. The satisfaction of crafting a personalized skincare solution is unmatched, and it can become a fun and creative outlet. Additionally, using natural ingredients in your serum can enhance its nourishing properties, providing even greater benefits for your skin.
With a DIY serum, you’re not just enhancing your skin; you’re also embracing a more sustainable approach to beauty.
Essential Ingredients for Your Luxury Serum
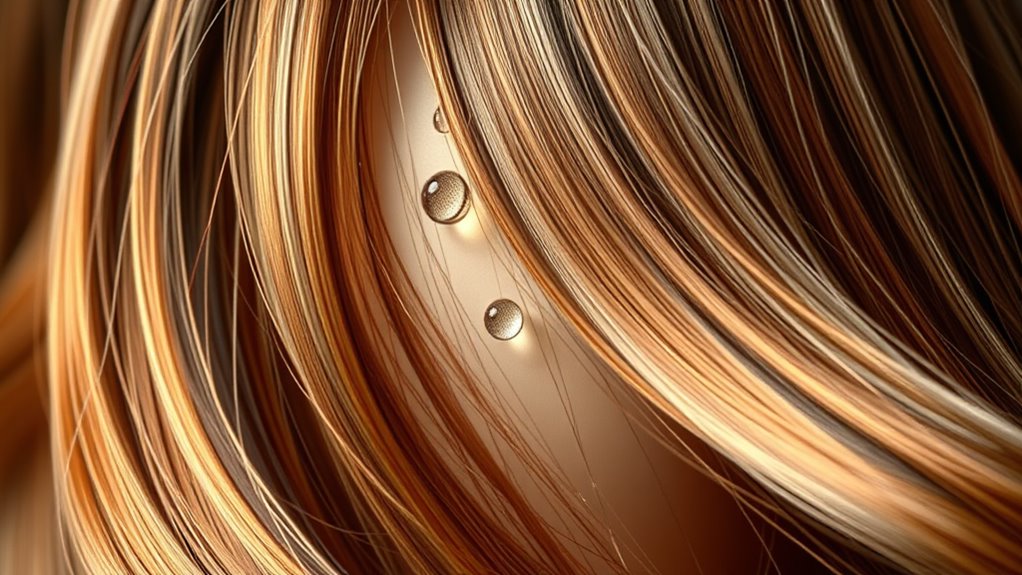
To create a luxury serum that rivals high-end products, you’ll need to focus on a few essential ingredients that deliver real results. Key components include hyaluronic acid for hydration, vitamin C for brightening, and rosehip oil for nourishment. These ingredients work synergistically to enhance your skin’s texture and glow. Additionally, incorporating natural serum into your routine can further promote a radiant complexion.
| Ingredient | Benefits | Usage |
|---|---|---|
| Hyaluronic Acid | Deep hydration | 1-2 drops daily |
| Vitamin C | Brightens complexion | 3-4 drops in morning |
| Rosehip Oil | Nourishing and anti-aging | 2-3 drops at night |
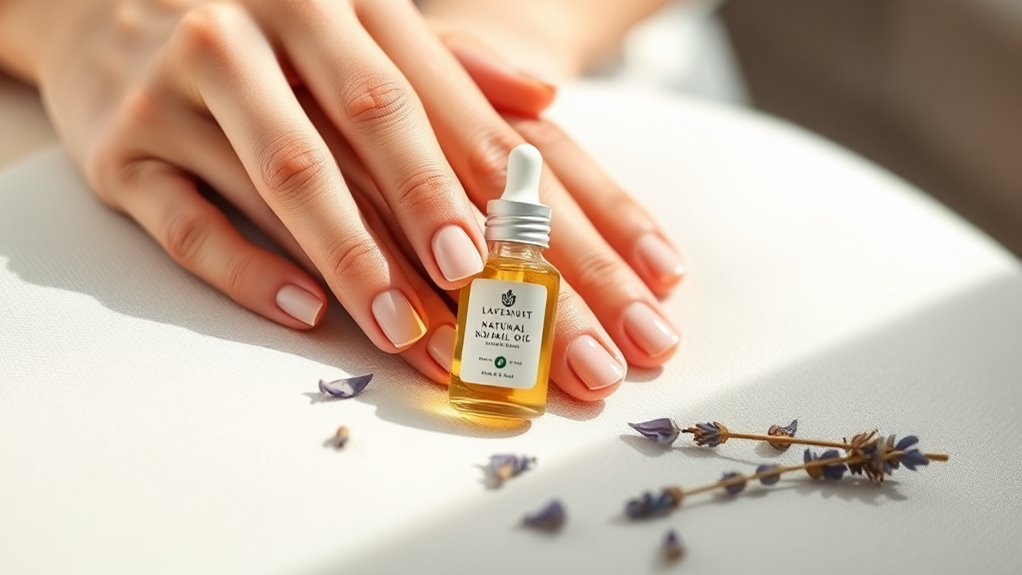
Step-by-Step Recipe for the Serum
Creating your own serum at home isn’t only budget-friendly, but it’s also a fun and rewarding process.
Start by gathering your essential ingredients: a carrier oil, essential oils, and any additional actives like vitamin E. Measure out about 2 tablespoons of your chosen carrier oil, like jojoba or almond oil, into a clean glass dropper bottle. Jojoba oil is particularly beneficial due to its moisturizing properties that help maintain skin hydration.
Next, add 5-10 drops of your favorite essential oil for fragrance and skin benefits. If you’re including vitamin E, add a few drops for added nourishment.
Secure the cap tightly and shake gently to combine. Let the mixture sit for a day to allow the ingredients to meld.
Now you’re ready to enjoy your luxurious-feeling serum, perfect for daily use!
How to Customize Your Serum
Customizing your serum allows you to tailor it to your unique skin needs and preferences, ensuring you get the most out of your DIY creation.
Start by identifying your skin type—whether it’s oily, dry, or combination. For hydration, add ingredients like hyaluronic acid or glycerin. If you’re targeting signs of aging, consider incorporating vitamin C or retinol for their brightening and rejuvenating properties.
For acne-prone skin, essential oils like tea tree or lavender can provide natural antibacterial benefits. Don’t forget to adjust the essential oil concentration to avoid irritation.
Lastly, experiment with different carrier oils, like jojoba or rosehip, to find the perfect match for your skin’s texture and absorption needs. Botanical face oils can also enhance your serum, adding extra nourishment and promoting a radiant complexion.
Happy customizing!
Application Tips for Maximum Effect
While applying your DIY serum might seem straightforward, a few key techniques can enhance its effectiveness and ensure your skin reaps the full benefits.
Follow these tips for maximum impact:
-
Cleanse First: Start with a fresh face; it ensures your serum penetrates effectively.
-
Warm It Up: Rub a few drops between your palms to warm the serum, making it easier to absorb.
-
Pat, Don’t Rub: Gently pat the serum onto your skin, focusing on areas that need extra attention.
-
Layer Wisely: If you’re using other products, apply your serum before heavier creams to lock in moisture.
Incorporating these techniques into your routine will elevate your DIY serum experience and leave your skin glowing.
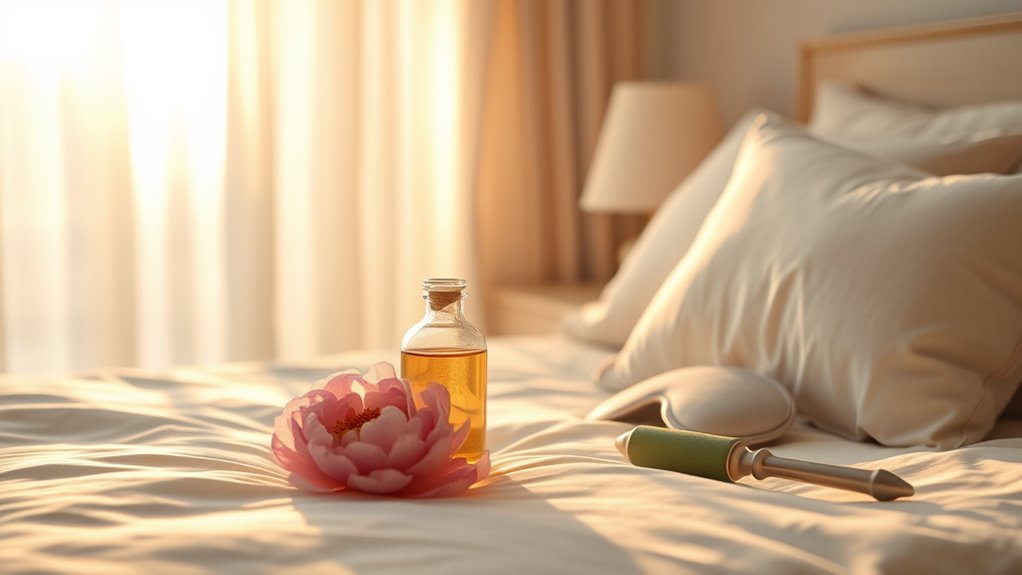
Storage and Shelf Life of Your Serum
To keep your DIY serum effective, choosing the right container is crucial.
Opt for dark glass bottles to protect your serum from light and air exposure, which can degrade its quality.
Additionally, store your serum in a cool, dry place to maximize its shelf life and potency.
Proper Container Selection
Choosing the right container for your DIY serum is crucial, as it can significantly impact the product’s effectiveness and longevity. Here are some key considerations to help you make the best choice:
-
Material: Opt for dark glass containers to protect your serum from light, which can degrade ingredients.
-
Seal: Ensure your container has a tight seal to prevent contamination and evaporation.
-
Size: Choose a size that matches your usage; smaller containers can help maintain potency by limiting exposure to air.
-
Dropper or Pump: Select a design that allows for easy application while minimizing exposure to air and bacteria.
Investing time in proper container selection will keep your serum fresh and potent, ensuring you enjoy its benefits for as long as possible.
Ideal Storage Conditions
Storing your DIY serum under the right conditions is essential for maintaining its potency and effectiveness.
Keep your serum in a cool, dark place, away from direct sunlight and heat sources, as UV rays can degrade its active ingredients. A bathroom cabinet or drawer works well, but avoid areas with high humidity.
Always ensure the container is tightly sealed to prevent oxidation. If your serum contains natural ingredients, consider refrigerating it to extend its shelf life, but allow it to reach room temperature before use for optimal absorption.
Regularly check for changes in color or scent, indicating it may be time to make a fresh batch.
With proper storage, you can enjoy your luxurious serum for weeks to come!
Skin Types and Their Ideal Ingredients
Understanding your skin type is crucial for crafting an effective DIY serum.
If you have oily skin, look for ingredients like tea tree oil and witch hazel, while those with dry skin should focus on hydrating elements like hyaluronic acid and jojoba oil.
Choosing the right ingredients can make all the difference in achieving a glowing complexion on a budget.
Oily Skin Ingredients
If you’ve got oily skin, selecting the right ingredients for your DIY serum can make all the difference in achieving that balanced complexion you desire.
Here are four key ingredients to consider:
-
Niacinamide – Helps regulate oil production and minimizes pores.
-
Salicylic Acid – Penetrates deep into pores, clearing out excess sebum and preventing breakouts.
-
Witch Hazel – A natural astringent that tones the skin and reduces shine without over-drying.
-
Tea Tree Oil – Known for its antibacterial properties, it combats acne and soothes inflammation.
Incorporating these ingredients into your serum can help control oiliness while keeping your skin looking fresh and radiant.
Dry Skin Solutions
For those with dry skin, finding the right ingredients for your DIY serum can transform your skincare routine and restore hydration.
Start with hyaluronic acid, which attracts moisture and plumps the skin. Consider adding oils like jojoba or argan, known for their nourishing properties, to lock in hydration.
Aloe vera gel is another fantastic addition, soothing irritation while providing moisture. Incorporate vitamin E oil for its antioxidant benefits, helping to repair the skin barrier.
Lastly, don’t forget about essential fatty acids found in rosehip oil; they’re great for maintaining skin elasticity.
Additional Tips for a Spa-Like Experience
To elevate your DIY serum experience into a spa-like retreat, consider creating an ambiance that soothes both the mind and body.
Here are some simple tips to enhance your self-care ritual:
-
Lighting: Dim the lights or light candles to create a warm, inviting glow that calms your senses.
-
Aromatherapy: Use essential oils like lavender or eucalyptus in a diffuser to fill the air with soothing scents.
-
Soft Textiles: Surround yourself with plush towels and a cozy robe to wrap yourself in comfort after your serum application.
-
Sound: Play soft music or nature sounds to drown out distractions and help you unwind fully.
Budget-Friendly Alternatives to High-End Products
Creating an effective DIY serum doesn’t have to break the bank. You can find budget-friendly alternatives to high-end products right in your pantry or local store.
For instance, instead of pricey oils, try using jojoba or sweet almond oil as your base; both are excellent for hydration and won’t clog pores. To boost your serum, consider adding essential oils like lavender or tea tree, which offer additional benefits without the luxury price tag.
Aloe vera gel is another affordable option, providing soothing properties that rival high-end brands. Remember, you can achieve glowing skin without splurging—just a few simple ingredients can work wonders.
Embrace creativity, and you’ll find that luxury can be affordable!