The DIY Toner That’s Better Than Store-Bought!
Have you ever wondered if your skincare routine could be more effective without breaking the bank? DIY toners offer a refreshing alternative to store-bought options, combining natural ingredients that cater to your skin’s unique needs. With just a few simple components, you can create a toner that not only tightens pores but also balances pH and hydrates. Curious about how to whip up your own blend and what ingredients to use? Let’s explore the possibilities.
Key Takeaways
- DIY toners are customizable, allowing you to select ingredients that suit your specific skin type and concerns.
- They are cost-effective, providing a natural alternative without preservatives found in many store-bought options.
- Homemade toners can balance your skin’s pH and enhance hydration, leading to a radiant complexion.
- Essential ingredients like witch hazel and aloe vera offer natural astringent and soothing properties, improving skin appearance.
- Proper storage and application techniques ensure the effectiveness and longevity of your DIY toner, making it a reliable choice.
The Benefits of DIY Toner
When it comes to skincare, a DIY toner can be a game-changer for your routine. You’ll love how a homemade facial toner not only refreshes your skin but also enhances its overall appearance.
By crafting your own toner, you control the ingredients, ensuring they’re gentle and beneficial for your unique skin type. Plus, it’s a cost-effective alternative to store-bought options packed with preservatives.
DIY toners can help balance your skin’s pH, tighten pores, and provide hydration, leaving you with a radiant complexion. Embrace the creativity of making your own toner, and watch your skin transform beautifully! Additionally, incorporating a DIY facial mist can further boost your skin’s hydration and rejuvenation.
Essential Ingredients for Your Homemade Toner
Creating your own homemade toner can be a fun and rewarding experience, especially when you know what ingredients to include.
Start with witch hazel for its natural astringent properties, which helps tighten pores.
Add aloe vera for soothing hydration, perfect for calming irritated skin.
Consider incorporating apple cider vinegar to balance your skin’s pH and provide antibacterial benefits.
Essential oils like tea tree or lavender can enhance your toner with additional healing properties.
Finally, don’t forget distilled water to dilute your mixture and keep it fresh.
With these key ingredients, you’ll create a customized toner that suits your skin perfectly! Additionally, DIY hydrating serum can further enhance your skincare routine by providing nourishing hydration.
Step-by-Step Guide to Making Your Toner
Now that you’ve gathered your essential ingredients, it’s time to bring your homemade toner to life.
You’ll want to follow a few simple steps to mix everything together and ensure it suits your skin type perfectly. Additionally, incorporating a calming essential oil into your toner can enhance its soothing properties.
Plus, I’ll share effective application techniques to help you get the most out of your new creation!
Essential Ingredients Needed
To craft your perfect DIY toner, you’ll need a handful of essential ingredients that not only enhance your skin but also suit your unique needs.
Start with witch hazel for its soothing properties and ability to tighten pores.
Add apple cider vinegar to balance your skin’s pH.
For a refreshing boost, include green tea, packed with antioxidants.
If hydration is your goal, consider adding aloe vera gel.
Lastly, a few drops of essential oils, like lavender or tea tree, can provide a lovely fragrance and additional benefits.
Mix these ingredients well, and you’re on your way to glowing skin!
Application Techniques Explained
Applying your DIY toner is a simple yet rewarding process that can transform your skincare routine.
Begin by cleansing your face thoroughly to remove any impurities.
Next, pour a small amount of your toner onto a cotton pad, ensuring it’s damp but not dripping.
Gently swipe the pad across your face, avoiding the eye area, to refresh and balance your skin.
- Use morning and night for best results.
- Store your toner in a cool, dark place to prolong its shelf life.
- Experiment with different ingredients to find your perfect blend.
Enjoy the natural glow your skin will radiate!
Tips for Storing and Using Your DIY Toner
Storing and using your DIY toner effectively can elevate your skincare routine to new heights. Keep your toner in a cool, dark place to preserve its potency. Use a glass container for better longevity, and remember to shake it well before each use to blend the ingredients. Additionally, incorporating a DIY glow oil can further enhance your skin’s radiance and provide a dewy finish.
| Storage Tip | Why It Matters |
|---|---|
| Cool, Dark Place | Prevents ingredient degradation |
| Glass Container | Avoids chemical reactions |
| Shake Before Use | Ensures even distribution |
| Label with Date | Monitors freshness |
| Store Away From Heat | Maintains effectiveness |
Follow these tips for optimal results!
Common Mistakes to Avoid When Making Toner
Here are a few pitfalls to watch out for:
- Using the wrong ingredients: Make sure to choose ingredients suitable for your skin type.
- Over-diluting or under-diluting: Balance is key; too much water can weaken effectiveness, while too little can irritate.
- Neglecting storage considerations: Improper storage can lead to spoilage, so keep your toner in a cool, dark place.
- Not considering skin nourishment: Incorporating natural ingredients can enhance the benefits of your toner and improve skin health.
Personalizing Your Toner for Different Skin Types
Creating a personalized toner tailored to your unique skin type can elevate your skincare routine and enhance your complexion.
For oily skin, mix witch hazel with tea tree oil to control excess oil and reduce breakouts.
If you have dry skin, blend rose water with a few drops of glycerin for hydration.
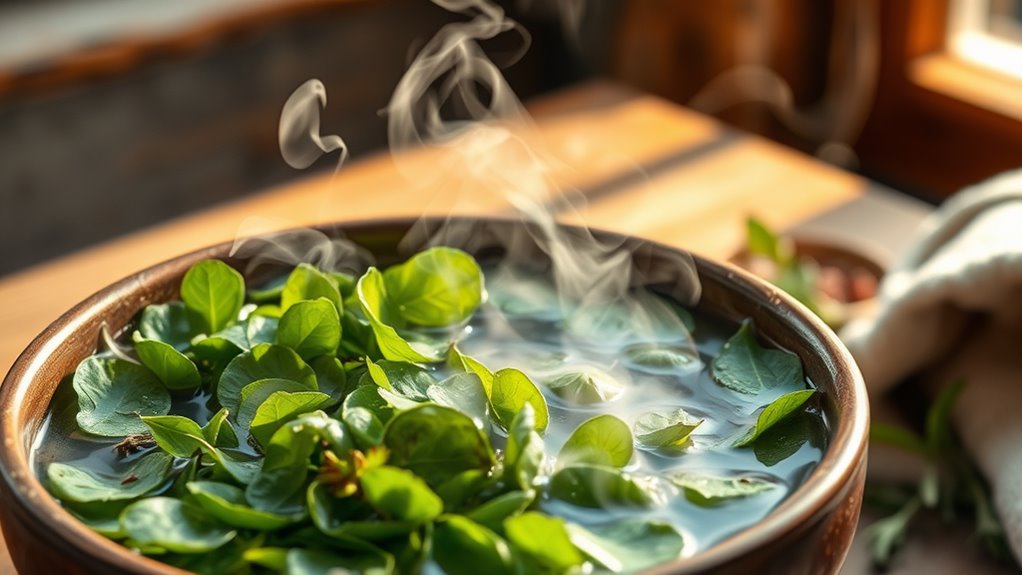
For sensitive skin, chamomile tea can soothe irritation; simply steep and cool before using.
And if your skin’s combination, try balancing with green tea and a hint of apple cider vinegar.
Experimenting with these natural ingredients helps you achieve that perfect balance, letting your skin thrive beautifully. Additionally, incorporating a nourishing DIY face oil blend into your routine can further enhance your skin’s health and radiance.


