You’ll Want to Eat This Superfood Face Mask!
You know that feeling when your skin craves a little extra love? This superfood face mask might just be the answer. Packed with nourishing ingredients like avocado, honey, and turmeric, it not only hydrates but also fights free radicals. Imagine giving your skin a boost while indulging in something that’s almost good enough to eat. Curious about how to incorporate this into your routine for optimal results? Let’s explore the details.
Key Takeaways
- Superfood face masks use nutritious ingredients like avocado and honey, which are beneficial for both skin and health.
- These masks provide essential vitamins and antioxidants that rejuvenate and hydrate the skin, promoting a radiant complexion.
- Key ingredients like turmeric and green tea help combat inflammation and protect against free radicals, enhancing overall skin health.
- The application process is simple: cleanse your face, apply the mask, relax for 10-15 minutes, and rinse off for glowing skin.
- Integrate these masks into your skincare routine once or twice a week for maximum benefits and hydration retention.
The Power of Superfoods for Your Skin
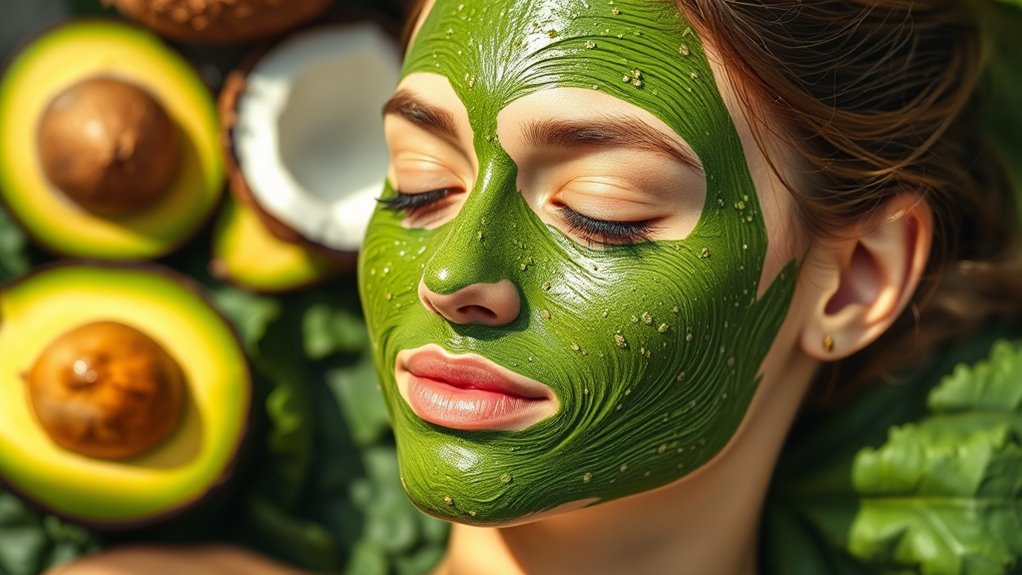
Have you ever wondered how the nutrients in your diet can transform your skin? Superfoods, packed with vitamins and antioxidants, offer incredible benefits when applied topically. A superfood mask for skin can rejuvenate, hydrate, and protect your complexion. Ingredients like avocado, honey, and spirulina work wonders, enhancing your skin’s natural glow. They fight free radicals, boost collagen production, and improve elasticity. By incorporating a superfood mask into your skincare routine, you’re not just pampering yourself; you’re also nourishing your skin with powerful nutrients. Additionally, superfoods for glowing skin are known to promote clear, radiant skin through their potent nutritional benefits.
Key Ingredients for a Radiant Glow
To achieve that radiant glow, choosing the right ingredients for your superfood face mask is key.
Look for nourishing components like avocado, packed with healthy fats and vitamins that hydrate your skin.
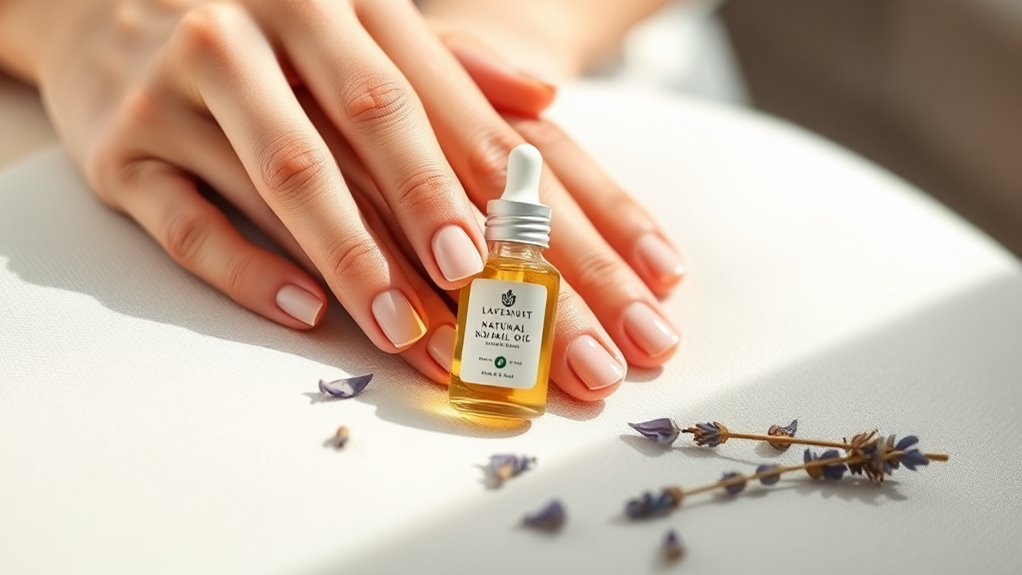
Honey acts as a natural humectant, drawing moisture in while providing antibacterial properties.
Incorporate turmeric, known for its anti-inflammatory benefits, to brighten and even out your complexion.
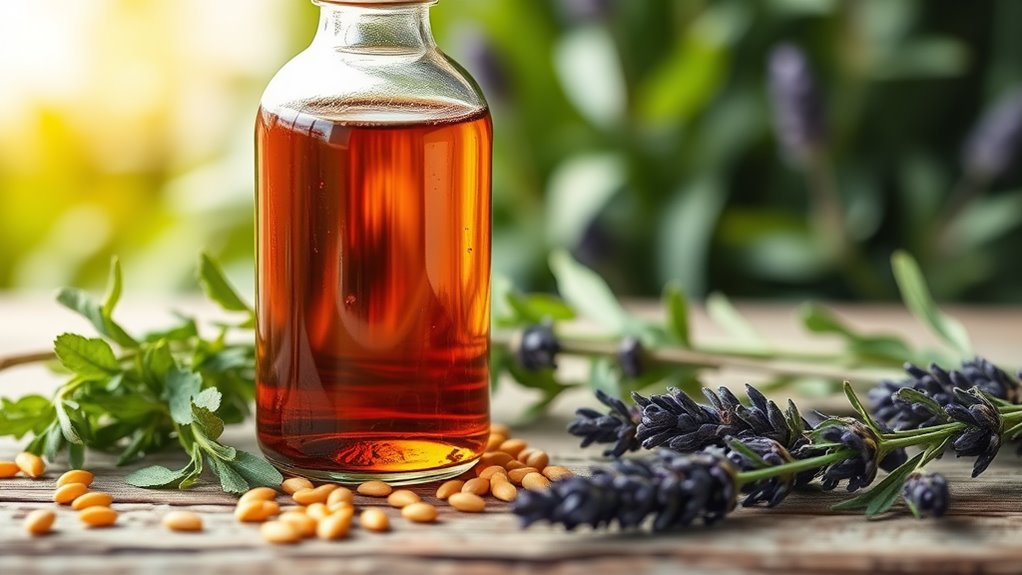
Don’t forget about green tea, rich in antioxidants, which helps protect your skin from free radicals.
Finally, add a splash of lemon juice for a zesty boost, promoting exfoliation and a fresh, vibrant appearance.
Additionally, consider using DIY glow-boosting masks that can further enhance your skin’s radiance and health.
Your skin will thank you!
Step-by-Step Application Guide
Applying your superfood face mask is a simple process that can transform your skincare routine.
Start with a clean face; wash away any dirt and makeup. Pat your skin dry with a soft towel.
Next, scoop a generous amount of the mask onto your fingertips or a brush. Apply it evenly across your face, avoiding the eye area.
Let the mask sit for 10-15 minutes, allowing the nutrients to penetrate your skin. For an extra boost, consider using natural ingredients that nourish and hydrate your skin overnight.
Finally, rinse it off with warm water, gently massaging your face to enhance circulation. Pat dry again, and enjoy the radiant glow your skin now has!
Tips for Maximizing Your Face Mask Experience
Once you’ve applied your superfood face mask and let it work its magic, there are several tips to enhance the experience and maximize its benefits.
First, create a relaxing atmosphere—dim the lights and play soothing music. Consider using a warm towel on your face beforehand to open up pores.
While the mask sets, enjoy a calming activity like reading or meditating. Stay hydrated by sipping water, which helps your skin too. Incorporating natural ingredients into your face mask can also boost its rejuvenating effects.
Finally, don’t rush the process; give your mask the full recommended time to penetrate deeply. These small steps can elevate your skincare ritual and amplify those nourishing effects!
Incorporating Superfood Masks Into Your Skincare Routine
How can you seamlessly integrate superfood masks into your skincare routine?
Start by choosing a mask that suits your skin type and concerns.
Aim to use it once or twice a week after cleansing your face.
This timing allows your skin to benefit from the nutrients without overdoing it.
Apply the mask generously, relax for 10-20 minutes, then rinse with warm water.
Follow up with your favorite moisturizer to lock in hydration.
You might also consider pairing the mask with serums or oils for enhanced results.
Incorporating superfoods into your diet can further enhance your skin’s health and radiance.
Enjoy the ritual, and your skin will thank you for the extra nourishment!