Clean Your Home With This Lemon-Powered Recipe!
Want to clean your home with a refreshing lemon-powered recipe? It’s easy! Just mix 1 cup of fresh lemon juice with 1 cup of water in a spray bottle. Add a tablespoon of white vinegar for extra disinfecting power if you’d like. This natural cleaner cuts through grease, sanitizes surfaces, and even smells great! Plus, it’s safe for your family and the environment. There are more tips and tricks to make the most of lemons in your cleaning routine!
Key Takeaways
- Mix 1 cup of freshly squeezed lemon juice with 1 cup of water and 1 tablespoon of vinegar for an effective cleaner.
- Use lemon cleaner on various surfaces like countertops, glass, and bathroom fixtures for a sparkling finish.
- Adjust the lemon-to-water ratio for general cleaning or heavy-duty tasks to tackle tough stains.
- Store your lemon cleaner in a cool, dark place and label the spray bottle for easy identification.
- Enjoy a fresh scent and antibacterial properties while promoting an eco-friendly cleaning routine.
The Benefits of Using Lemon for Cleaning
When it comes to natural cleaning solutions, lemon stands out as a powerhouse ingredient. You might be surprised to learn just how effective this sunny fruit can be! Its natural acidity cuts through grease and grime, making it perfect for your DIY citrus cleaner.
Plus, lemon has antibacterial properties that help sanitize surfaces, leaving your home not just clean, but also fresh and inviting. The pleasant scent can uplift your mood while you tidy up, too. Additionally, using lemon in your cleaning routine contributes to an eco-friendly lifestyle, reducing reliance on harsh chemicals. So, why not give it a try? With lemon in your cleaning arsenal, you’ll be amazed at how effortlessly you can tackle those household chores!
Ingredients You’ll Need for the Lemon Cleaner
To whip up your lemon-powered cleaner, you’ll need a few essential ingredients that pack a punch.
Lemon juice not only gives your cleaner a fresh scent but also offers natural antibacterial properties.
Let’s gather what you need to get started on your sparkling clean journey!
Essential Cleaning Ingredients
If you’re ready to tackle your cleaning tasks with a natural touch, gathering the right ingredients is essential for your lemon-powered cleaner. You’ll be amazed at how simple and effective these ingredients can be! Here’s what you need:
-
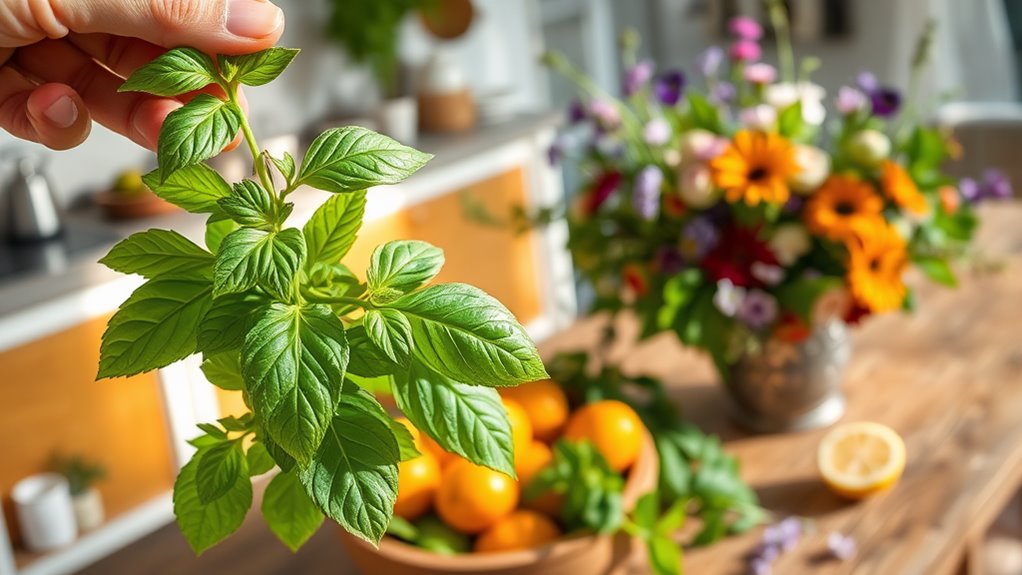
Fresh Lemons: Their natural acidity is a powerhouse for cutting through grime and odors.
-
White Vinegar: This versatile ingredient not only cleans but also disinfects surfaces, making your home sparkle.
-
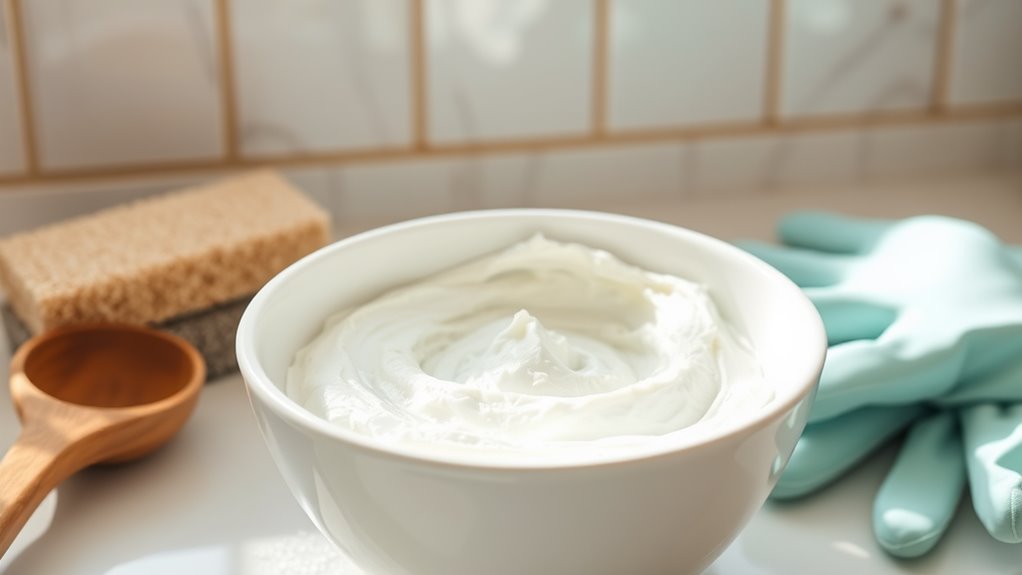
Baking Soda: A gentle abrasive, baking soda helps scrub away tough stains while neutralizing odors.
With these three essentials in hand, you’re well on your way to creating a refreshing, lemony cleaner that’ll leave your home feeling fresh and inviting.
Happy cleaning!
Benefits of Lemon Juice
Lemon juice isn’t just for flavoring your drinks; it’s a cleaning superstar that brings a ton of benefits to your homemade cleaner. Its natural acidity helps cut through grease and grime, making it perfect for tough stains. Plus, it leaves a fresh, invigorating scent that’ll brighten up your space.
Here’s a quick look at some key benefits:
| Benefit | Description |
|---|---|
| Natural Disinfectant | Kills bacteria and germs effectively |
| Odor Neutralizer | Eliminates unpleasant smells |
| Stain Remover | Breaks down tough stains easily |
Step-by-Step Instructions to Make Your Cleaner
While making your own lemon-powered cleaner might sound daunting at first, it’s actually quite simple and rewarding.
You’ll love how easy it’s to whip up this natural solution that not only smells fresh but also helps keep your home sparkling clean!
Here’s what you need:
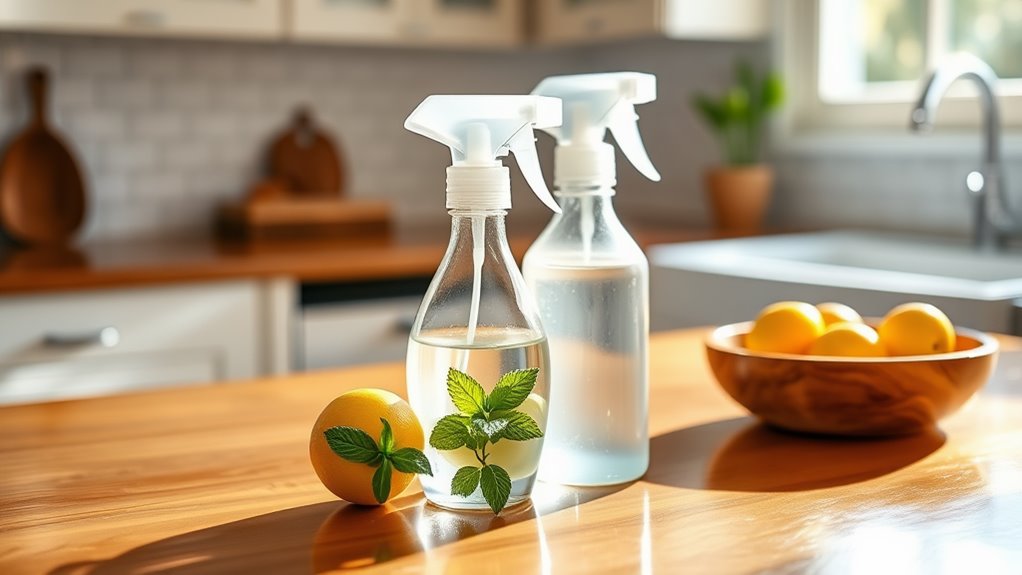
- 1 cup of lemon juice – Freshly squeezed is best for optimal cleaning power.
- 1 cup of water – This dilutes the acidity, making it safe for various surfaces.
- 1 tablespoon of vinegar – A great natural disinfectant that boosts the cleaner’s effectiveness.
Just mix these ingredients in a spray bottle, shake gently, and voilà!
You’ve got a powerful, eco-friendly cleaner that’s ready to tackle dirt and grime.
Enjoy the refreshing scent while you clean!
How to Use Your Lemon Cleaner Effectively
Now that you’ve got your lemon cleaner ready, let’s talk about how to use it for the best results.
Understanding the right dilution ratios is key to maximizing its cleaning power, and knowing which surfaces it shines on can make your cleaning routine a breeze.
Dilution Ratios Explained
Understanding dilution ratios is key to getting the most out of your lemon cleaner, especially since the right mix can enhance its cleaning power without wasting any of your homemade solution.
Here’s how you can achieve the perfect blend:
-
General Cleaning: Mix one part lemon juice with three parts water. This ratio’s ideal for everyday surfaces, ensuring freshness without overpowering scents.
-
Heavy-Duty Cleaning: Use one part lemon juice to two parts water when tackling tougher stains. You’ll feel empowered as you watch grime dissolve!
-
Deodorizing: For a refreshing spritz, blend one part lemon juice with four parts water. The zesty aroma will brighten your space and lift your spirits!
Experimenting with these ratios will help you find the perfect mix for your cleaning routine.
Happy cleaning!
Best Surfaces to Clean
Lemon cleaner is a versatile solution that can tackle a variety of surfaces around your home. You’ll find it works wonders on kitchen counters, cutting boards, and even stainless steel appliances. The natural acidity of lemon helps cut through grease and grime, leaving things sparkling clean.
Don’t forget about bathroom surfaces! It’s great for sinks, tubs, and tiles, giving them a fresh, citrusy scent. Just spray, let it sit for a few minutes, and wipe away.
You can also use your lemon cleaner on glass surfaces for a streak-free shine—just remember to buff with a microfiber cloth.
With its antibacterial properties, it’s perfect for high-touch areas like doorknobs and light switches, too! Enjoy the fresh, clean results!
Additional Uses for Lemon in Household Cleaning
While you might already know lemons are great for cleaning, they actually have a variety of surprising uses around the house. You’ll love how versatile this citrus fruit is!
Here are three fantastic ways to harness its power:
-
Odor Eliminator: Cut a lemon in half and place it in your fridge to zap away stubborn smells. It’s fresh and inviting!
-
Dishwasher Freshener: Toss a lemon peel in your dishwasher before running it. Your dishes will come out sparkling and smelling delightful!
-
Stain Remover: Combine lemon juice with baking soda to tackle tough stains on clothes or surfaces. It’s a natural stain-fighting duo!
Embrace these lemony tricks, and you’ll enjoy a cleaner, fresher home!
Safety Tips When Using Natural Cleaners
Using natural cleaners like lemon can make your home smell fresh and clean, but it’s important to keep safety in mind.
First, always patch test any new cleaner on a small, hidden area to avoid damage. Remember to store your lemon cleaner in a cool, dark place, as exposure to light and heat can reduce its effectiveness.
When mixing lemon with other ingredients, make sure they’re compatible; for instance, combining lemon juice with vinegar can create an unpleasant odor.
Also, avoid using lemon on sensitive surfaces like marble or granite, as the acidity can cause etching.
Finally, keep your cleaning solutions out of reach of children and pets to ensure everyone stays safe while you enjoy your sparkling clean home! Additionally, consider using natural cleaning hacks to maximize the effectiveness of your lemon cleaner while maintaining a safe environment.
Eco-Friendly Cleaning: Why It Matters
Here’s why it matters:
-
Reduced Toxins: Traditional cleaners can release harmful chemicals into your home and the air, affecting your family’s health.
-
Sustainable Practices: Eco-friendly options encourage sustainable farming and manufacturing, supporting a healthier ecosystem.
-
Water Conservation: Many natural cleaners require less water to produce, helping to conserve this precious resource.
Additionally, using natural ingredients like lemon can create effective homemade cleaners that are safe for both your family and the environment.