A Stretching Routine That’s Actually Enjoyable
To create a stretching routine that’s actually enjoyable, start by picking a quiet space and setting a calming atmosphere with soft lighting and soothing music. Incorporate dynamic stretches like leg swings and arm circles to get your blood flowing. Don’t forget to sync your breath with each movement for deeper relaxation. Celebrate your progress, and remember that consistency is key. Stick with it, and you’ll discover more enjoyable techniques and tips to enhance your practice!
Key Takeaways
- Create a soothing atmosphere with dim lighting, soft music, and calming scents to enhance your stretching experience.
- Incorporate dynamic stretches like leg swings and arm circles to make warming up enjoyable and effective.
- Integrate deep breathing exercises to promote relaxation and deepen each stretch, enhancing overall enjoyment.
- Use partner-assisted stretches for added fun and camaraderie, making stretching a social activity.
- Keep your routine varied and acknowledge your progress to maintain motivation and make stretching feel rewarding.
The Benefits of Stretching for Mind and Body
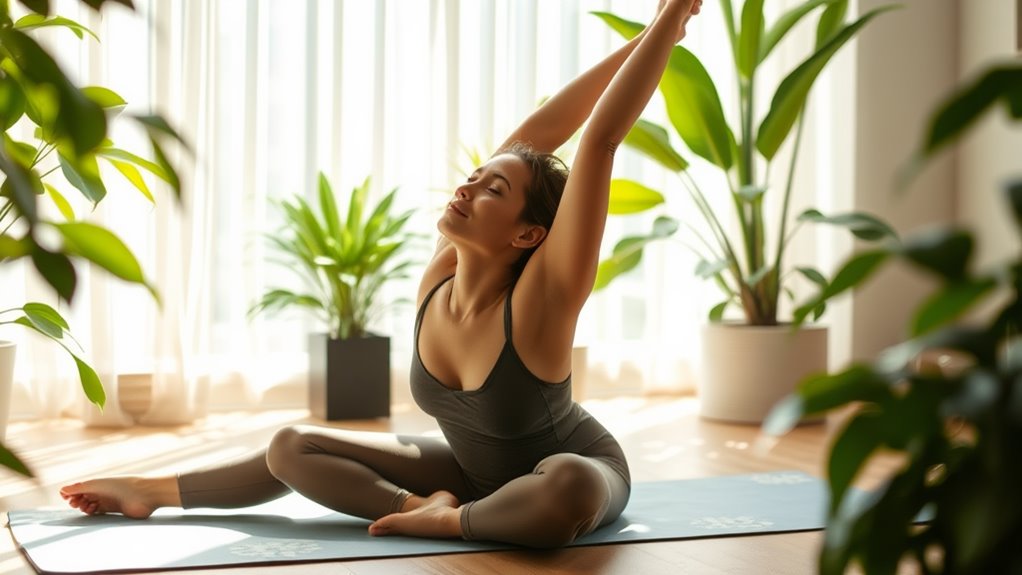
When you take a moment to stretch, not only are you benefiting your body, but you’re also nurturing your mind. Home stretching for relaxation can help reduce stress, improve flexibility, and enhance your overall well-being.
As you stretch, you release tension in your muscles, allowing your body to feel lighter and more agile. This physical release often translates to a mental release, helping you feel more centered and focused.
Incorporating stretching into your daily routine can create a calming ritual, promoting mindfulness and presence. You’ll find that even a few minutes of gentle stretching can elevate your mood and boost your energy levels. Additionally, these simple stretches for stress relief can be easily integrated into your day, providing a quick way to unwind and recharge.
Preparing Your Space for a Relaxing Stretching Session
Creating a calming environment is key to enhancing your stretching experience. Start by choosing a quiet space where you can unwind. Consider the elements around you; they can significantly impact your mood. Here’s a quick guide to help you prepare:
| Element | Suggestions | Benefits |
|---|---|---|
| Lighting | Dim lights or use candles | Creates a soothing atmosphere |
| Surface | Soft mat or carpet | Provides comfort and support |
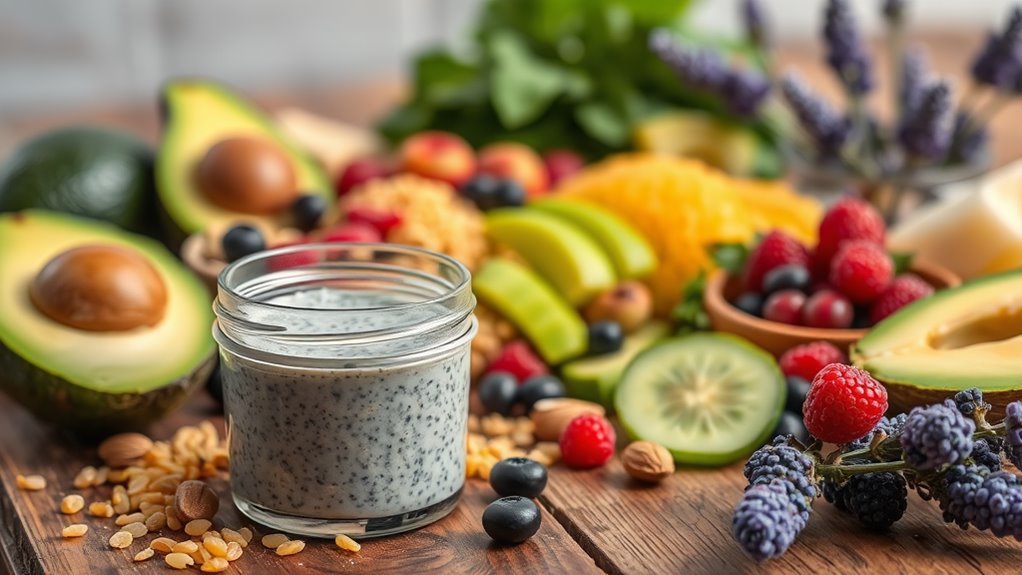
| Aromatherapy | Essential oils or incense | Promotes relaxation and focus |
| Music | Soft instrumental tracks | Sets a peaceful tone |
| Temperature | Comfortable warmth | Helps your muscles relax more |
Arranging these elements can transform your space into a sanctuary, making stretching not just a routine, but a joyful escape. Additionally, incorporating mindful relaxation techniques can further enhance your stretching session by helping you connect with your body and breath.
Warm-Up: Easing Into Your Routine
Before you start stretching, warming up is key to get your body ready and prevent injuries.
By incorporating dynamic stretching techniques, you’ll increase your flexibility and overall performance.
Let’s explore the best timing and benefits of a proper warm-up to enhance your routine!
Benefits of Warm-Up
Although many people overlook the importance of warming up, taking just a few minutes to ease into your routine can significantly enhance your performance and reduce the risk of injury.
A proper warm-up gets your blood flowing and prepares your body for the workout ahead. Here are a few benefits you shouldn’t ignore:
-
Increased Flexibility: Warming up helps your muscles become more pliable, making it easier to move and stretch effectively.
-
Enhanced Performance: A good warm-up can boost your endurance and strength, allowing you to push yourself further.
-
Injury Prevention: Gradually increasing intensity helps your muscles adapt, reducing the likelihood of strains or sprains.
Dynamic Stretching Techniques
To get the most out of your warm-up, incorporating dynamic stretching techniques can be a game changer. Unlike static stretches, dynamic stretches involve movement and help increase blood flow to your muscles.
Try leg swings, arm circles, or torso twists to get your body ready for action. These exercises not only enhance flexibility but also improve your range of motion, making your workout more effective.
As you perform these movements, focus on controlled, fluid motions. This way, you’ll prepare your muscles for the strain ahead while also enjoying the process.
Timing Your Warm-Up
Finding the right timing for your warm-up can make all the difference in your workout experience. If you start too late or rush through it, you might miss out on the benefits.
Here are three tips to help you time your warm-up effectively:
-
Start 5-10 minutes before your workout: This gives your body enough time to transition from rest to activity.
-
Listen to your body: If you feel tight or stiff, consider extending your warm-up to ensure you’re ready.
-
Incorporate dynamic stretches: They activate your muscles and prepare them for movement, enhancing your performance.
Enjoyable Stretching Techniques to Try
Ready to spice up your stretching routine?
Dynamic stretching movements and partner-assisted stretches can add a fun twist while improving your flexibility.
Let’s explore these enjoyable techniques that not only feel great but also enhance your overall performance!
Dynamic Stretching Movements
Dynamic stretching movements are a fantastic way to warm up your body and enhance flexibility, making your workouts more effective and enjoyable.
These techniques get your blood flowing and prepare your muscles for action. Here are three dynamic stretches you should try:
-
Leg Swings: Swing one leg forward and back while balancing on the other. This activates your hip flexors and leg muscles.
-
Arm Circles: Extend your arms out to the sides and make small circles, gradually increasing the size. This warms up your shoulders and upper body.
-
Walking Lunges: Step forward into a lunge, alternating legs as you move. This helps improve your balance and stretches your hips.
Incorporating these movements won’t only make stretching fun but also boost your overall performance!
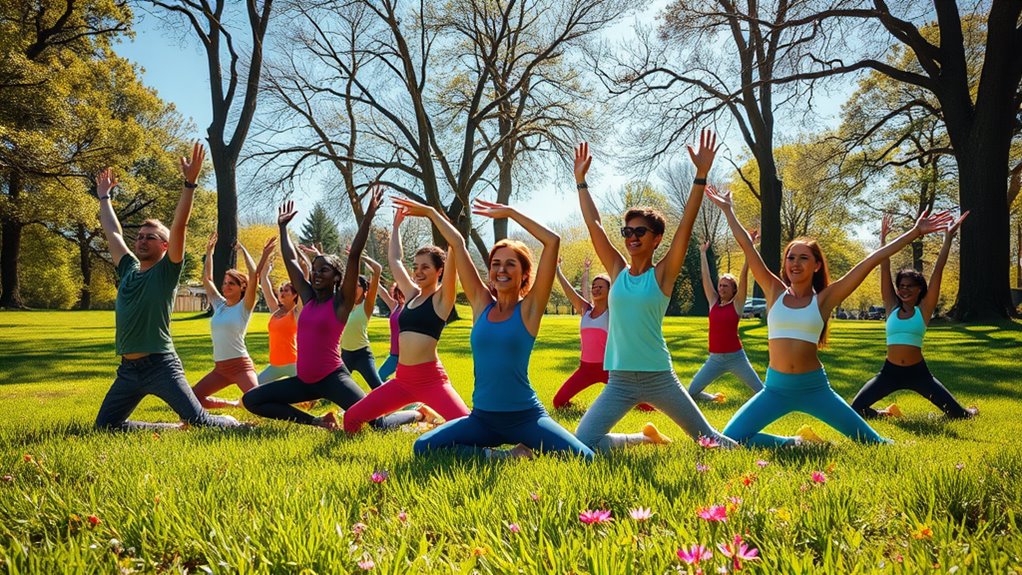
Partner-Assisted Stretching Fun
When you want to elevate your stretching routine, partner-assisted stretching can add a fun and interactive element that enhances your flexibility. Not only does this technique help improve your range of motion, but it also fosters camaraderie. Grab a friend, and try these enjoyable stretches together!
| Stretch | Description |
|---|---|
| Partner Hamstring | One partner lies down while the other lifts their leg to stretch the hamstring. |
| Seated Forward Fold | Sit back-to-back, and reach forward while your partner pushes lightly on your back. |
| Assisted Quad Stretch | Stand facing each other, hold hands, and help each other stretch the quads. |
With these techniques, you’ll boost your flexibility and have a blast. So gather your partner and start stretching!
Incorporating Breathing Exercises
Incorporating breathing exercises into your stretching routine can significantly enhance your overall experience and effectiveness. By focusing on your breath, you can deepen your stretches and promote relaxation.
Here are a few tips to get you started:
-
Inhale deeply before each stretch to prepare your muscles and mind, creating a sense of calm.
-
Exhale slowly as you move into the stretch, allowing your body to release tension and go deeper.
-
Sync your breath with your movements; this not only helps maintain rhythm but also keeps you present in the moment. Additionally, incorporating a relaxing home stretch routine can further improve your well-being and help relieve tension.
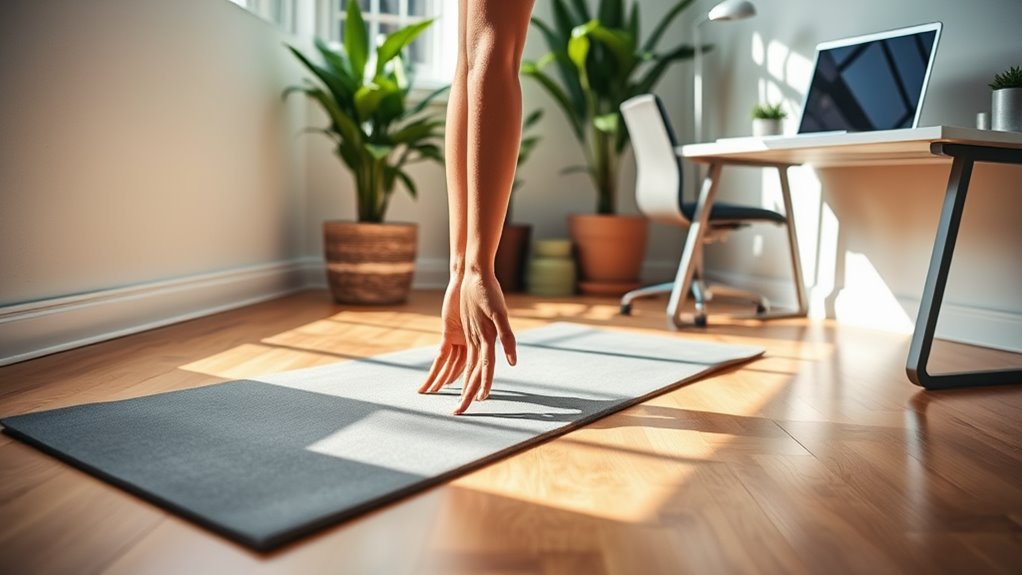
Creating a Consistent Stretching Habit
Establishing a consistent stretching habit can be a game changer for your overall flexibility and well-being. To make it stick, start small. Set aside just 5-10 minutes each day.
Choose a time that works best for you—whether it’s in the morning, during lunch, or before bed. Create a cozy space that invites you to stretch, and consider pairing it with something enjoyable, like your favorite playlist or a calming podcast.
Track your progress in a journal, and celebrate your achievements, no matter how small. Remember, consistency is key. If you miss a day, don’t be hard on yourself; just get back to it the next day.
Soon, stretching will become a natural and rewarding part of your routine!