You’ll Never Buy Air Freshener Again After This!
Did you know that most commercial air fresheners contain harmful chemicals that can irritate your lungs? These products may mask odors, but they also introduce volatile organic compounds (VOCs) into your home, posing health risks you might not even realize. Fortunately, there’s a simple, natural alternative that not only freshens your space but also keeps your air clean. Let’s explore how you can create your own DIY air freshener that’s safe and effective.
Key Takeaways
- Commercial air fresheners contain harmful chemicals that can irritate your respiratory system and trigger allergies.
- DIY air fresheners use natural ingredients, ensuring a safer and healthier home environment.
- Essential oils like lavender and lemon create pleasant scents without the risks associated with synthetic fragrances.
- Customizing your own air freshener allows for unique scent blends tailored to your preferences.
- Maintaining a fresh home environment is achievable with simple practices like decluttering and using natural air freshening methods.
Understanding the Dangers of Commercial Air Fresheners
Have you ever wondered what’s really in those commercial air fresheners you use to mask odors? Many contain harmful chemicals that can irritate your respiratory system or trigger allergies.
It’s not just about pleasant scents; these products often release volatile organic compounds (VOCs) that can linger in your home.
Instead of risking your health, consider making a DIY natural air freshener. With simple ingredients like essential oils and water, you can create a refreshing, safe alternative that leaves your space smelling great. Crafting Natural Air Freshener not only protects your well-being but also adds a personal touch to your home environment.
Essential Ingredients for Your DIY Air Freshener
If you’re ready to swap out those chemical-laden air fresheners for something more natural, you’ll need to gather a few key ingredients.
Start with distilled water, which serves as your base.
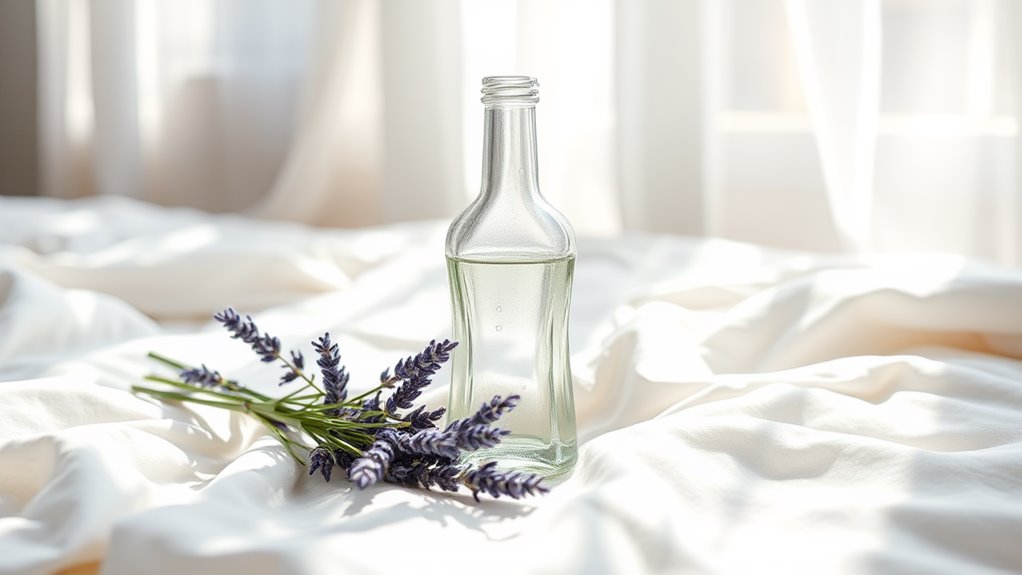
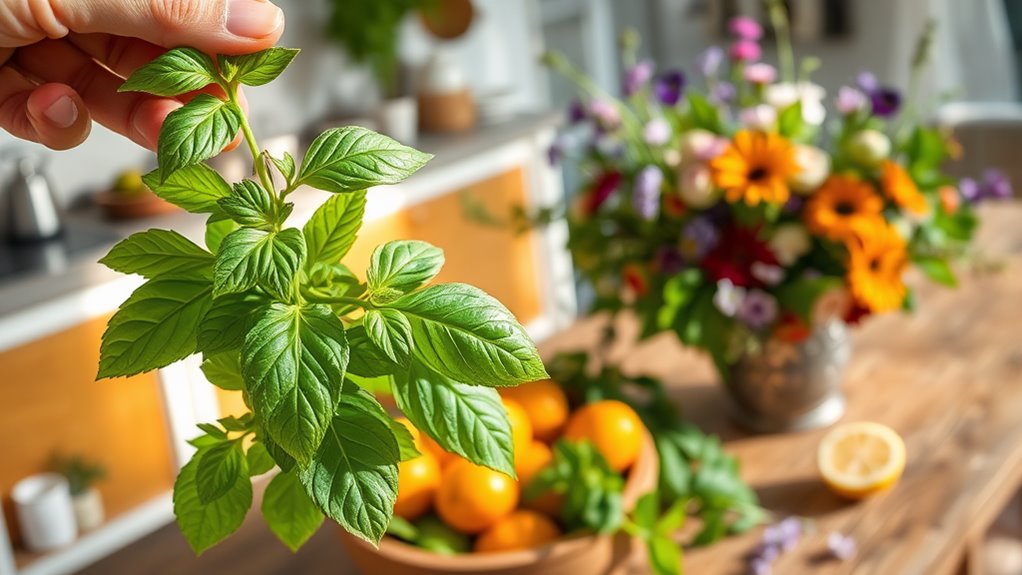
Next, grab some essential oils—lavender, lemon, and eucalyptus are popular choices for their refreshing scents.
You’ll also want a bit of vodka or rubbing alcohol; it helps to disperse the oils and keeps your mixture fresh longer.
Finally, consider adding a natural preservative, like a few drops of vitamin E oil, to enhance longevity.
Creating your own air freshener not only allows you to customize the scent but also ensures you’re using natural ingredients that are safe for your home and the environment.
With these essentials, you’re on your way to creating a delightful, homemade air freshener!
Step-by-Step Guide to Making Your Natural Air Freshener
Ready to transform your space with a natural air freshener?
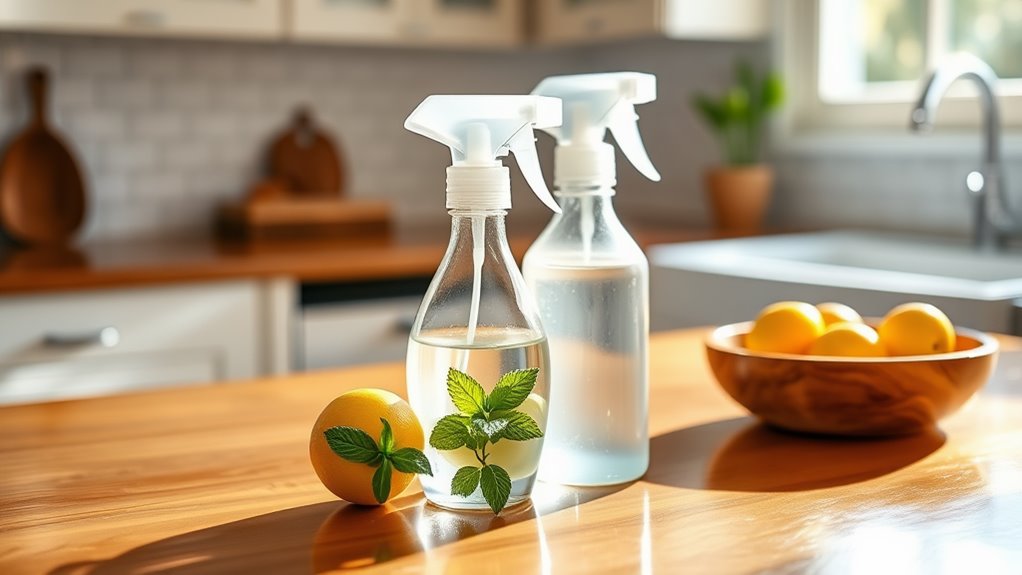
Start by gathering your essential ingredients: water, a few drops of your favorite essential oil, and a spray bottle.
Fill the bottle halfway with water, then add 10-15 drops of the essential oil.
If you want a stronger scent, adjust the oil accordingly.
Shake the bottle gently to combine the ingredients.
Now, spray it around your home—on upholstery, in the air, or even in closets.
Voila! You’ve created a fresh, inviting atmosphere without harsh chemicals.
Additionally, using essential oils can create a calming atmosphere that enhances your well-being.
Enjoy the delightful aroma and the satisfaction of your DIY creation!
Creative Scents to Try: Customizing Your Freshener
You can customize scents to reflect your personality or mood!
Here are three creative combinations to try:
- Citrus Bliss: Combine lemon, orange, and a hint of lime for an energizing burst.
- Spicy Warmth: Blend cinnamon, clove, and vanilla for cozy, inviting vibes.
- Floral Serenity: Mix lavender, rosemary, and a touch of chamomile for a calming atmosphere.
Experiment with these ideas, or create your own unique blend! Incorporating natural ingredients into your fresheners not only enhances the scent but also promotes a healthier home environment.
Your space will smell amazing, and you’ll never go back to store-bought air fresheners again.
Get creative and enjoy the fresh scents!
Tips for Maintaining a Fresh and Inviting Home Environment
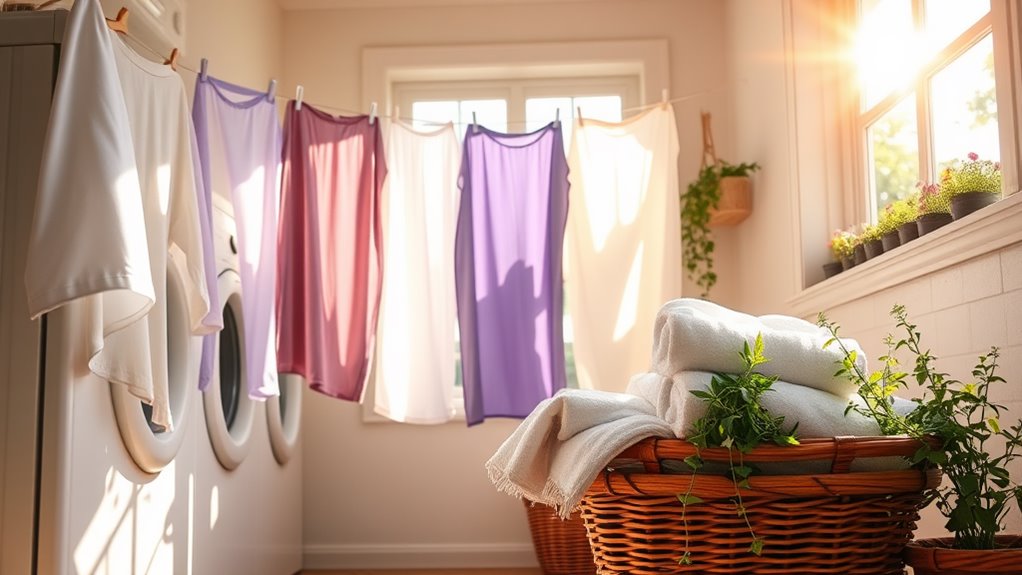
Creating a fresh and inviting home environment doesn’t have to be complicated.
Start by decluttering; a tidy space instantly feels more welcoming. Regularly open your windows to let in fresh air, and consider adding indoor plants for a natural touch.
Use essential oils in a diffuser or create DIY potpourri for delightful aromas. Don’t forget to clean surfaces and vacuum often to eliminate dust and odors. Additionally, natural methods such as simmering herbs and citrus on the stove can infuse your home with refreshing scents.
Finally, incorporate soft lighting and cozy textiles to enhance warmth. With these simple tips, you’ll transform your home into a refreshing sanctuary where you and your guests can truly relax.